If you’ve ever struggled to get your garage door keypad working again, you’re not alone. Maybe you forgot your code, or you just want to change it for better security.
Resetting your garage code keypad doesn’t have to be confusing or time-consuming. In fact, once you know the simple steps, you’ll be able to update your code quickly and easily. This guide will walk you through everything you need to reset your garage door keypad, so you can regain control and peace of mind.
Keep reading, and you’ll be opening your garage with a fresh, secure code in no time!
Locate The Learn Button
Locating the learn button is the first step to reset your garage code keypad. This button helps you erase old codes and set new ones. Knowing its exact position saves time and avoids confusion. The learn button is on the garage door opener motor unit, usually mounted on the ceiling.
Finding this button allows you to start the reset process quickly. It may be hidden under a light cover or marked by a specific color. Identifying it correctly ensures you do not press the wrong button.
Find The Opener Motor Unit
The opener motor unit is on the ceiling inside your garage. It is a rectangular box near the garage door track. Look above the garage door for this unit. It holds the motor and the controls for the door.
Stand on a safe step stool if needed to see it clearly. The learn button is on this device, so find it first. This step is crucial before you proceed.
Identify The Learn Button Color
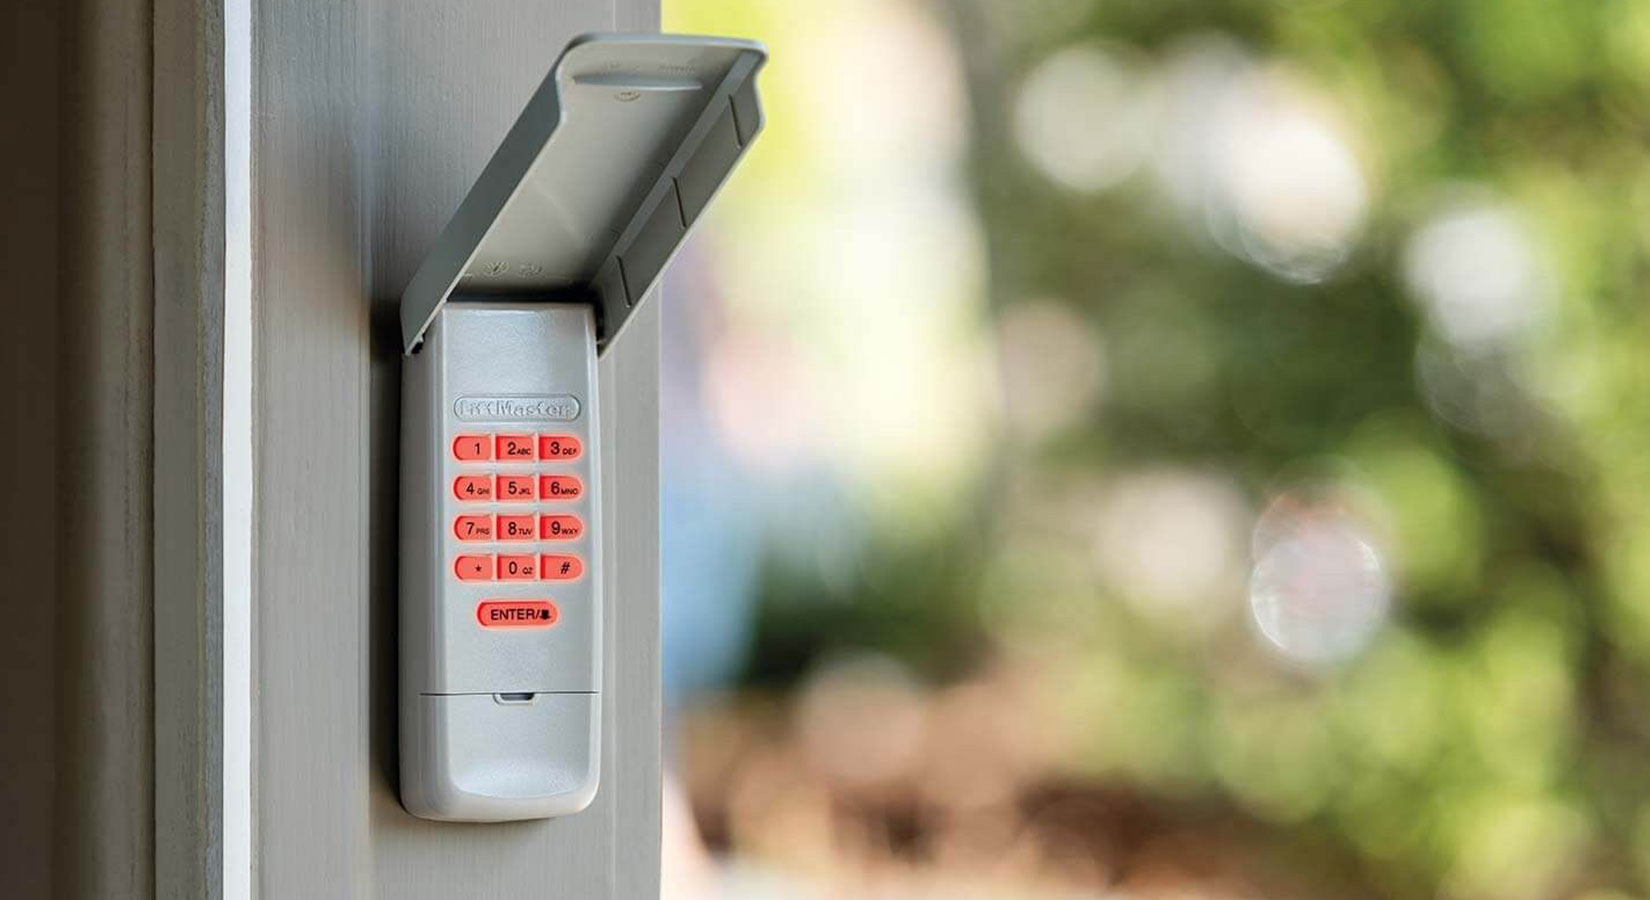
The learn button color varies by brand and model. Common colors include red, yellow, orange, or purple. Look carefully for a small button with one of these colors. It may have the word “Learn” next to it.
Knowing the color helps you spot it faster. Some units have a small light near the button. This light can blink when the button is pressed.
Remove Light Cover If Needed
Some garage openers hide the learn button under the light cover. The cover is usually plastic and near the front of the motor unit. Gently pull or slide the cover off to check underneath.
Be careful not to break the cover. Removing it gives clear access to the learn button. After resetting, you can snap the cover back into place.
Clear Existing Codes
Clearing existing codes is an essential step before setting a new garage door keypad code. It removes old or forgotten codes and ensures only authorized users can access the garage. This process involves two main actions: resetting the keypad memory and clearing codes stored in the opener motor. Both steps help keep your garage secure and your system running smoothly.
Reset Keypad Memory
Start by locating the reset or program button on your garage keypad. It is usually on the back or inside the keypad cover. Press and hold this button until the keypad light starts blinking. This action clears all stored codes in the keypad memory. After this, the keypad will no longer accept the old codes. You can now enter new codes safely without interference from previous settings.
Clear Codes On Opener Motor
Next, find the “Learn” button on the garage door opener motor. This button is often red, yellow, orange, or purple. It may be hidden behind the light cover on the ceiling unit. Press and hold the “Learn” button for about 6 to 10 seconds. The indicator light will turn off, showing that all saved codes are erased. This step clears any codes saved in the motor’s memory, giving you a fresh start to program new codes.
Set A New Code
Setting a new code on your garage door keypad is essential for security. This process allows you to choose a unique code to control access. Follow simple steps to program a new code quickly.
Enter Programming Mode On Keypad
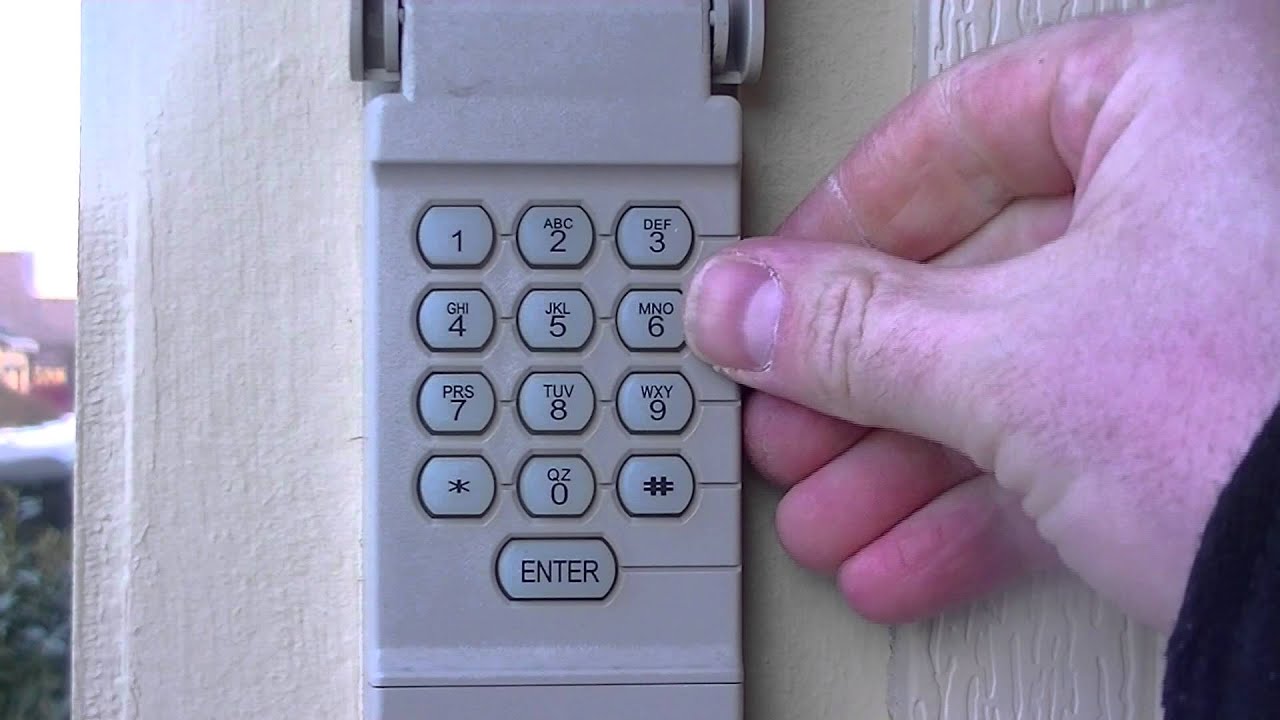
Start by pressing the “Program” or “Reset” button on the keypad. Hold it until the keypad light blinks or stays on. This action puts the keypad into programming mode. The keypad is now ready to accept a new code.
Press The Learn Button To Sync
Locate the “Learn” button on the garage door opener motor. It is often red, yellow, or purple. Press and release this button to activate the opener’s programming mode. The motor’s light may blink, signaling it is ready to sync with the keypad.
Confirm Code Setup
Enter your new code on the keypad. Then press the “Enter” or “Lock” button to save it. The garage door should respond by moving or the keypad light will flash. This confirms your new code is active and ready to use.
Test The New Code
Testing the new code is a crucial step after resetting your garage door keypad. It confirms whether the new code works properly and allows you to access your garage. This simple check saves time and avoids frustration later. Follow these tips to ensure your new code functions smoothly.
Check Battery Status
Start by checking the keypad battery. A weak battery may cause the code to fail. Replace old batteries with fresh ones. This helps the keypad send signals correctly to the opener. Always keep spare batteries handy for quick replacement.
Retry If Code Fails
Try entering the new code again if it does not work. Press each button slowly and clearly. Sometimes, pressing too fast causes errors. Make sure you finish entering the full code before the keypad times out. If it still fails, reset and reprogram the code carefully.
Consult Opener Manual
Check your garage door opener manual if problems continue. It contains specific instructions for your keypad model. Manuals often explain error lights and troubleshooting steps. Follow the guide to ensure correct programming. This resource helps you avoid damage and secure proper setup.
Troubleshoot Common Issues
Troubleshooting common issues can save time and avoid frustration when resetting your garage code keypad. Problems often arise from simple causes that are easy to fix. Knowing how to address these issues helps keep your garage door working smoothly. This section covers key steps to resolve common keypad problems.
Replace Keypad Batteries
Weak or dead batteries often cause keypad failure. Open the keypad cover to check battery status. Replace old batteries with fresh ones of the correct type. Ensure batteries are inserted with the right polarity. Test the keypad after battery replacement to confirm it works.
Reset After Remote Replacement
Replacing a remote can disrupt the keypad connection. Perform a full keypad reset to sync with the new remote. Locate the “Learn” button on the garage door opener motor. Press and hold this button until the indicator light activates. Enter a new code on the keypad to reprogram it. This step restores communication between devices.
Contact Professional Help
Persistent issues may signal complex problems. Contact a garage door technician for expert diagnosis. Professionals have tools and knowledge to fix wiring or hardware faults. They also provide safe keypad and opener repairs. Avoid risking damage or injury by calling a professional when needed.
Tips For Secure Codes
Keeping your garage door keypad code secure protects your home and belongings. Simple codes invite unwanted access. Follow these tips to create safe and reliable PINs. Protect your keypad from common hacking risks. Make your code hard to guess but easy to remember. Stay one step ahead with smart code habits.
Choose Strong Pins
Pick PINs that are not easy to guess. Avoid simple sequences like “1234” or repeated numbers. Use a mix of digits that do not relate to your birthday or address. Strong PINs reduce the chance of unauthorized entry. Change default codes right after installation.
Change Codes Regularly
Update your garage keypad code often. Regular changes reduce the risk of old codes being used. Set reminders to change your PIN every few months. This keeps your security fresh and limits time for code theft. Do not wait for a security breach to update your code.
Limit Code Sharing
Only share your code with trusted family members or close friends. Avoid giving your PIN to many people. The more people who know your code, the higher the risk it will be leaked. If you must share, change the code afterward. Keep control over who can access your garage.
Frequently Asked Questions
How Do I Reset My Garage Door Keypad?
Locate the “Learn” button on your garage door opener motor. Press and hold it until the light turns off to clear codes. Hold the keypad’s “Reset” or “Program” button until it blinks. Enter a new code, press “Enter,” and test the keypad to confirm the reset.
How To Reset Code On Door Keypad?
Locate the “Learn” button on the garage door opener motor. Press and hold it until the indicator light turns off. On the keypad, press and hold the “Reset” or “Program” button until its light blinks. Enter and confirm your new code by following the keypad instructions.
Test the new code.
How To Reset Garage Door Code Without Existing Code?
Locate the “Learn” button on the garage door opener motor. Press and hold it to clear existing codes. Then, enter a new code on the keypad and press “Enter” or “Send” to sync. Test the new code to confirm the reset worked.
How Do You Reprogram Your Garage Door Code?
Press the “Learn” button on the opener motor. Enter a new code on the keypad, then press “Enter” or “Send. ” Test the new code to confirm.
How Do I Reset My Garage Door Keypad Code?
Press and hold the keypad’s reset button until the light blinks, then press the opener’s learn button.
Conclusion
Resetting your garage code keypad is simple and quick. Follow the steps carefully to avoid mistakes. Find the Learn button on your garage opener first. Clear old codes if needed by pressing the reset buttons. Enter and sync your new code with the keypad.
Confirm the code by watching the light or listening for a click. Test the new code to ensure it works properly. Regularly updating your code keeps your garage secure. Keep this guide handy for easy reference anytime you need.