
If you rely on your Lippert Leveling System to keep your RV steady and safe, you know how frustrating it can be when it doesn’t work as it should. Whether you’re seeing error codes, the system isn’t leveling properly, or it’s just acting up, knowing how to reset it can save you time and stress.
In this guide, you’ll discover simple, step-by-step instructions to reset your Lippert Leveling System quickly and get back on the road with confidence. Keep reading—you’re about to take control of your RV’s leveling system like a pro.
Lippert Leveling System Basics
The Lippert Leveling System helps keep your RV stable and level. Understanding its basics is key to proper use and troubleshooting. This system uses sensors and jacks to adjust the RV’s position automatically. Knowing the main parts and common errors helps you manage it better. This section covers essential information about the Lippert Leveling System.
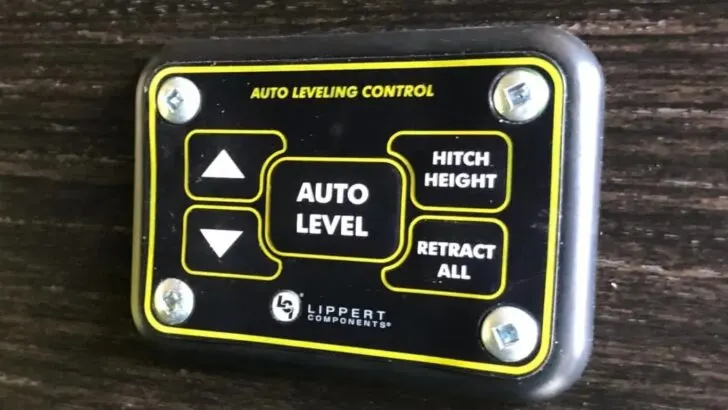
Key Components
The system includes several important parts that work together. The control panel lets you operate the leveling process. Hydraulic or electric jacks raise and lower the RV sides. Sensors detect the RV’s tilt and send data to the control panel. The power supply provides energy to all components. Each part must work well for smooth leveling.
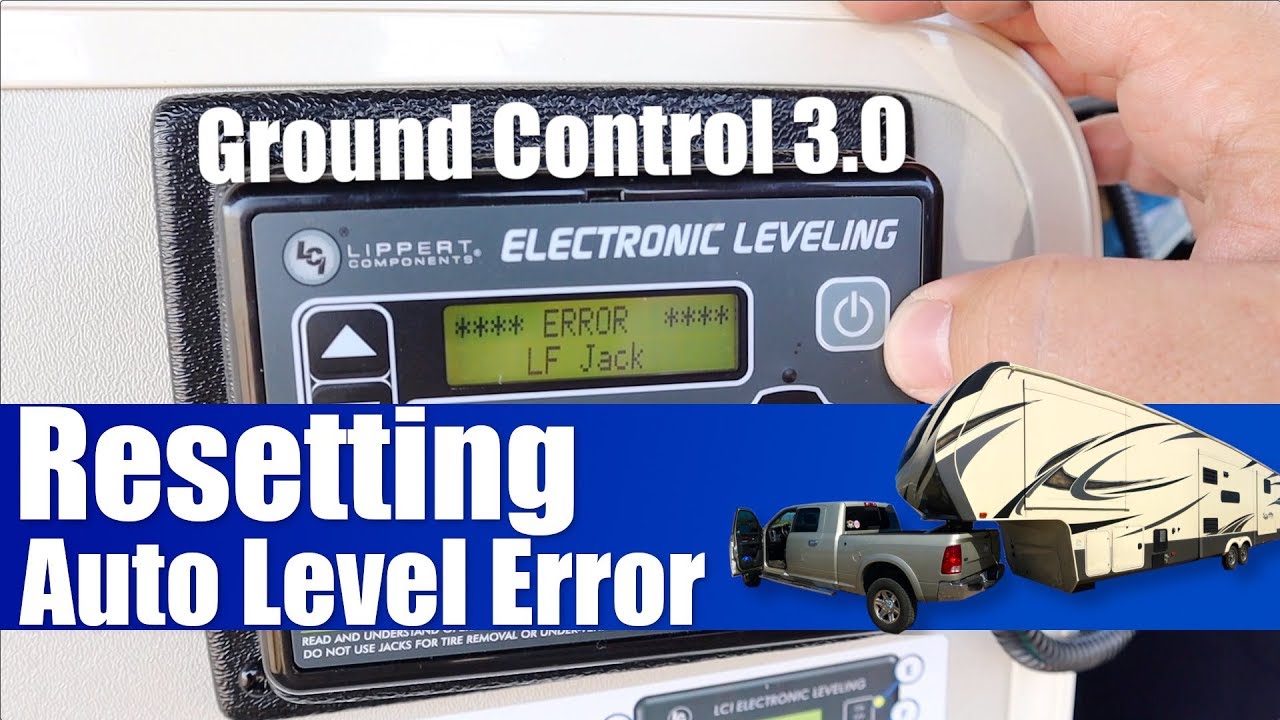
Common Error Codes
Error codes alert you when the system faces issues. The “LF” code means a problem with the left front jack. “RF” stands for right front jack trouble. The “Sensor Error” shows a problem with tilt sensors. These codes help identify what needs fixing. Knowing error codes speeds up troubleshooting and repair.
Preparing For Reset
Before resetting the Lippert Leveling System, proper preparation is key. Taking the right steps ensures a smooth reset process. It also protects your RV and the system’s components. Follow these guidelines carefully to prepare your RV for reset.
Park And Secure Rv
Find a flat, stable surface to park your RV. Avoid slopes or uneven ground. Engage the parking brake to stop any movement. Chock the wheels on both sides to keep the RV in place. If your RV is hitched to a tow vehicle, unhitch it now. Make sure the RV is secure before proceeding.
Power Down Procedures
Turn off the Lippert control panel using the power switch. This prevents accidental commands during reset. Also, switch off the RV’s main power if possible. Wait a few minutes to let the system fully power down. This step helps clear any temporary errors. After waiting, you can start the reset process safely.
Manual Leveling Process
The manual leveling process is essential for resetting the Lippert Leveling System. It helps ensure your RV or trailer sits perfectly level on uneven ground. This process lets you control the leveling jacks directly, bypassing automatic functions. You can fine-tune the height and balance yourself. Follow the steps carefully to avoid errors and keep your system working smoothly.
Entering Calibration Mode
Start by turning off the control panel power. Wait a few seconds, then press and hold the calibration button. Watch the display for a message like “ZERO POINT CALIBRATION.” This means the system is ready for manual leveling. If no message appears, repeat the steps or check your user manual for the exact button to press. Calibration mode prepares the system to accept your manual adjustments.
Using Manual Controls
Use the control panel’s manual buttons to adjust each leveling jack. These buttons usually move the jacks up or down. Adjust slowly and check the RV’s position often. Place a bubble level inside the RV near the main living area. Move the jacks until the bubble is centered. This means the RV is level from side to side and front to back. Manual control gives you precise handling of each jack.
Checking Level Accuracy
After leveling, double-check the bubble level in multiple spots. Check near doors, windows, and the center of the RV. The bubble should stay centered in all positions. If not, tweak the jacks again with manual controls. Confirm the system shows a successful zero point calibration message. This step ensures the RV is truly level and the system reset is complete. Accurate leveling improves comfort and system performance.
Setting The Zero Point
Setting the zero point is a crucial step in resetting your Lippert leveling system. It ensures the system knows the exact level position of your RV. This helps the jacks adjust properly and keep your vehicle stable. Follow these steps carefully to set the zero point accurately.
Confirming Level Position
Start by parking your RV on a flat surface. Use a bubble level inside to check if the RV is level. Adjust the jacks manually using the control panel. Make sure the RV is perfectly level before moving forward. Confirming the level position prevents errors during calibration.
Saving Calibration
Once the RV is level, save this position as the zero point. Press the enter button on the control panel to store the setting. Some models require pressing the retract button three times instead. This step tells the system where the level position is. Saving calibration locks in the correct zero point for future use.
Performing Stability Check
The system will run a stability check after saving the zero point. Watch for messages on the control panel indicating success. The check ensures the jacks hold the RV steady at the new zero point. If the check fails, repeat the process to avoid issues later. A stability check confirms a proper reset of your Lippert leveling system.
Testing The System
Testing the Lippert leveling system after a reset ensures it works correctly. This step confirms the system’s sensors and controls respond as expected. Proper testing avoids future errors and unsafe leveling.
Power Cycle
Start by turning off the power to the leveling system. Wait for about 30 seconds to let the system fully shut down. Then, turn the power back on. This simple power cycle helps clear minor glitches. It resets the system’s memory and prepares it for accurate testing.
Running Auto-level Function
After the power cycle, run the auto-level function. This lets the system adjust all jacks to a level position automatically. Watch the system carefully as it moves each jack. The process should finish without error codes or unusual noises. If it completes smoothly, the reset was successful. If not, repeat the reset steps or check for mechanical issues.
Resetting Lippert Onecontrol
Resetting the Lippert OneControl system helps fix common issues. This system controls your RV’s leveling and other functions. Sometimes, a reset clears errors and restores proper operation. Follow simple steps to reset power, touch panel, and router components. Each step improves system performance and reliability.
Basic Power Reset Steps
Start by turning off the power to the OneControl system. Locate the main power switch on the control panel. Switch it to the OFF position. Wait about 30 seconds for the system to fully power down. Turn the power back ON and check if the system responds. This reset refreshes the system memory and clears minor faults.
Touch Panel And App Reset
Resetting the touch panel or app can fix unresponsive controls. For the touch panel, press and hold the power button for 10 seconds. The screen will turn off and restart. For the app, close it completely on your device. Reopen the app and reconnect to the OneControl system. This resets the user interface and connection settings.
Router Reset Tips
The OneControl system uses a router for wireless communication. Resetting this router can solve connectivity problems. Locate the router’s power source and unplug it. Wait 60 seconds to clear the router cache. Plug the router back in and wait for it to fully restart. This step ensures a fresh network connection for the OneControl system.
Troubleshooting Tips
Troubleshooting your Lippert Leveling System can save time and effort. Some common issues are easy to fix at home. Understanding simple tips helps keep your system running smoothly. Pay attention to error codes and system behavior. This section focuses on key troubleshooting steps for quick fixes and when to seek help.
Clearing Lf Error Code
The LF error code often means a sensor or communication issue. Start by turning off the control panel. Wait 30 seconds, then turn it back on. This reset can clear minor glitches.
Check all wiring connections. Loose or damaged wires can cause the error. Secure or replace wires if needed.
Inspect the leveling sensors. Clean any dirt or debris around them. Dirt can block signals and cause errors.
If the error persists, try recalibrating the system. Follow the calibration steps in the manual. This resets the sensors and clears the error code.
When To Contact Support
Contact Lippert support if errors continue after resets and calibration. Persistent error codes or system failures need expert help.
Call support if the leveling jacks do not respond at all. This may indicate a deeper electrical or control panel issue.
Seek help if you notice strange noises or jacks moving unevenly. These can mean mechanical problems requiring professional repair.
Keep your system’s model number and error details ready. This helps support diagnose your issue faster.
Maintenance Advice
Proper maintenance keeps your Lippert Leveling System working smoothly. Regular care helps avoid malfunctions and extends the system’s life. Follow simple steps to maintain your leveling system and prevent costly repairs.
Routine Checks
Inspect the leveling jacks for dirt and damage. Clean debris around the jacks to ensure smooth movement. Check hydraulic fluid levels and refill if low. Test the control panel buttons for proper response. Look for loose wires or connections and tighten them. Perform a manual level check to confirm accuracy. Regularly verify the system resets correctly after use.
Preventing Future Issues
Park on firm, level ground before leveling. Avoid driving with the leveling jacks extended. Keep the control panel dry and protected from moisture. Use a surge protector to prevent electrical damage. Lubricate moving parts with manufacturer-approved grease. Update the system software if updates are available. Store the RV in a covered area during harsh weather. Schedule professional inspections yearly to catch hidden problems early.
Frequently Asked Questions
How To Calibrate Lippert Auto Level?
Park on a level surface and chock the wheels. Turn off the control panel. Enter calibration mode by holding the calibration button. Manually level the RV using controls and a bubble level. Press enter to set the zero point. Confirm success, then test auto-level function.
How To Reset Lippert One Control?
To reset Lippert One Control, turn off RV power by disconnecting shore power and battery. Wait briefly, then reconnect battery and shore power. Power on the system and check functionality. Perform manual recalibration if needed using the control panel’s calibration mode.
Why Is The Auto Level Flashing Red On My Lippert?
The auto level flashes red on a Lippert system due to a sensor error, calibration issue, or jack obstruction. Check for obstructions and recalibrate the system.
How To Manually Level Lippert 3.0 Leveling System?
Park the RV on a level surface and chock the wheels. Turn off the control panel. Enter calibration mode by holding the appropriate button. Use manual controls to level the RV, checking with a bubble level. Press Enter to set the zero point.
Confirm success and test auto-level function.
How Do I Reset The Lippert Leveling System?
Turn off the power, enter calibration mode, level manually, then set the zero point.
Conclusion
Resetting the Lippert Leveling System keeps your RV stable and safe. Follow the steps carefully for best results. Always park on a level surface before starting. Use manual controls to get the RV perfectly level. Set the zero point once the RV is stable.
Test the system to confirm proper operation. Regular resets help avoid errors and improve performance. Keep your system maintained for smooth travels ahead.