Are your Photoshop settings acting up or not working the way you want? Sometimes, a quick reset can fix hidden glitches, restore your workspace, or simply give you a fresh start.
If you’ve ever wondered how to reset Photoshop settings without losing your valuable work, you’re in the right place. In this guide, you’ll learn simple, step-by-step methods to reset everything from your tools to the entire app preferences. By the end, you’ll be back to a clean, smooth Photoshop experience—ready to create without distractions.
Keep reading to discover the easiest ways to reset Photoshop settings on both Windows and Mac!
Reset Preferences Using Keyboard Shortcut
Resetting Photoshop preferences can fix many issues fast. Using a keyboard shortcut is the quickest method. It clears all custom settings and returns Photoshop to default. This helps solve crashes, slowdowns, or strange tool behavior. Follow these steps carefully to reset your preferences with ease.
Close And Relaunch Photoshop
First, close Photoshop completely. Make sure no background processes run. Next, relaunch the app but do not release the keys yet. Hold down the shortcut keys before the splash screen appears. This triggers the reset process automatically.
Confirm Reset Dialog
After holding the keys, a dialog box will pop up. It asks if you want to delete current settings. Click “Yes” or “OK” to confirm. Photoshop will then load with default preferences. This resets all tool settings, workspaces, and caches.
Shortcut Keys For Windows And Mac
On Windows, press and hold Control + Alt + Shift keys. On Mac, press and hold Command + Option + Shift keys. Keep them pressed while starting Photoshop. Release the keys once the reset dialog appears. This shortcut works for most Photoshop versions.
Reset Preferences Via In-app Settings
Resetting Photoshop preferences via in-app settings is a simple way to fix common issues. It restores the program to its default state without deleting files. This method is quick and safe for most users.
Follow the steps below to reset preferences directly from Photoshop’s interface. This approach helps resolve glitches or performance problems effectively.
Access Preferences Menu
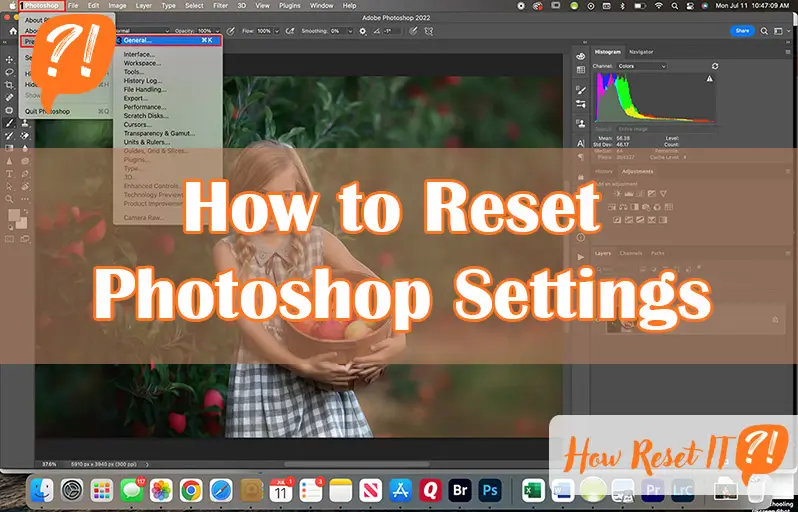
Open Photoshop on your computer. Navigate to the top menu bar and click Edit (Windows) or Photoshop (Mac). Select Preferences from the dropdown list. Then, click General to open the preferences window.
Locate Reset Button
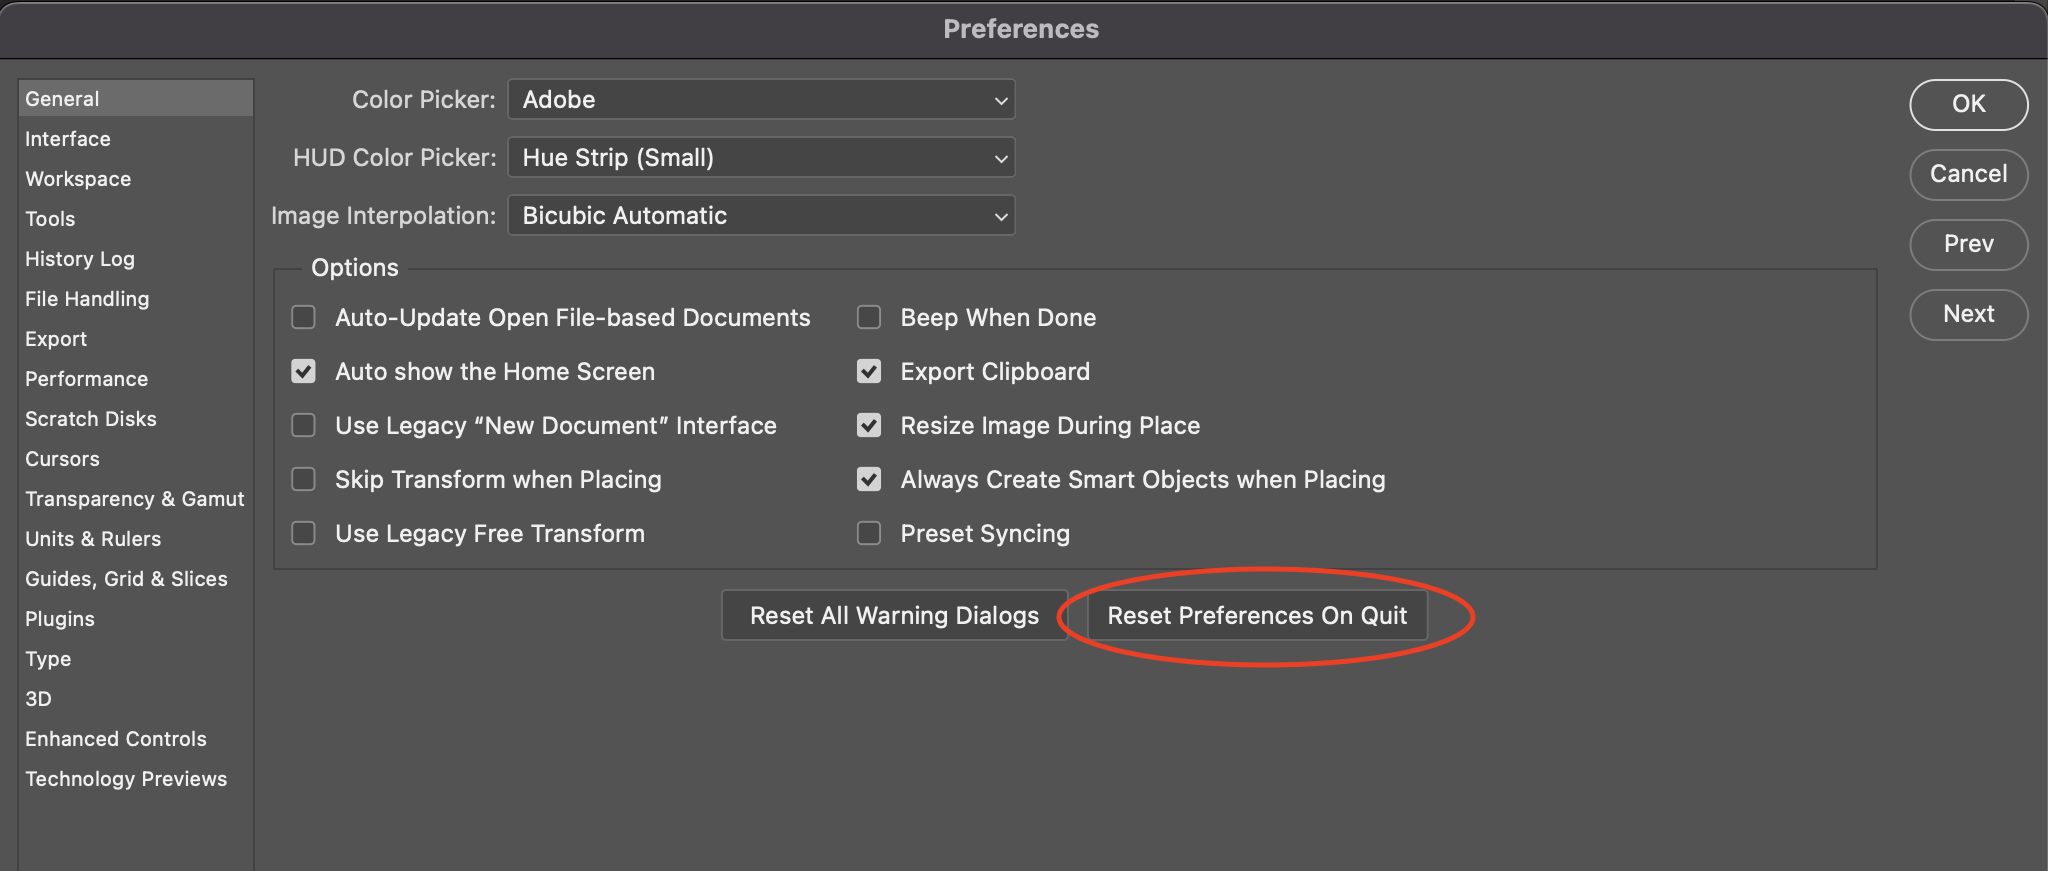
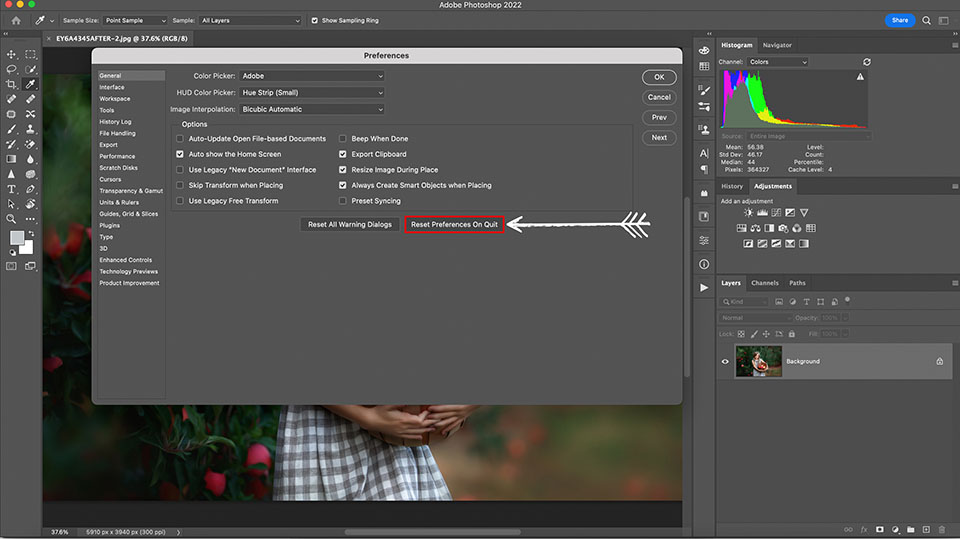
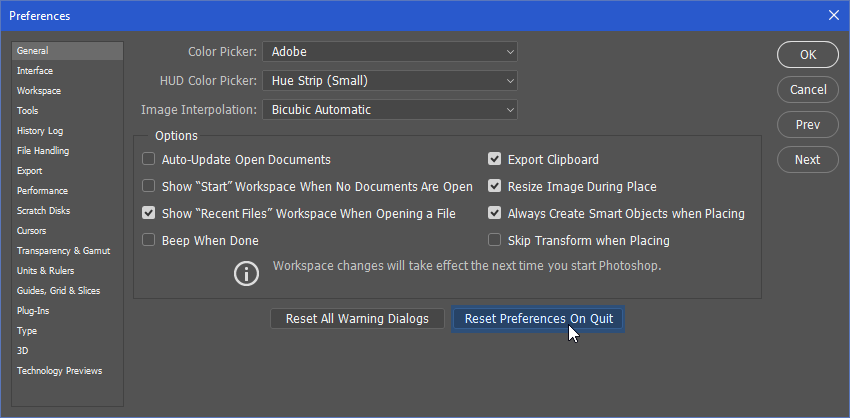
Inside the preferences window, find the Reset Preferences on Quit button near the bottom. Click this button to prepare Photoshop for resetting preferences. This option clears all custom settings on the next program restart.
Restart Photoshop
Close Photoshop completely. Reopen it to apply the reset. The program will start with default preferences. Your workspace and settings return to their original state, solving many common issues.
Delete Preference Files Manually
Deleting Photoshop preference files manually helps fix app problems fast. This method clears old settings that may cause errors or crashes. It resets Photoshop to its original state without reinstalling. Users can delete these files from specific folders on their computer. This process works for both Windows and Mac systems. Follow the steps below to find and remove these preference files safely.
Find Preference Folder On Windows
Open File Explorer on your Windows PC. Go to the path: C:Users[Your Username]AppDataRoamingAdobeAdobe Photoshop [version]. The AppData folder is hidden by default. Show hidden files by clicking “View” and checking “Hidden items”. Inside the Photoshop folder, locate the “Adobe Photoshop Prefs.psp” file. This file stores your preferences. Deleting it will reset Photoshop settings to default.
Locate Preference Folder On Mac
Open Finder on your Mac. Click “Go” in the menu bar. Select “Go to Folder” and enter: ~/Library/Preferences/Adobe Photoshop [version] Settings/. Press Enter to open the folder. Find the file named “Adobe Photoshop Prefs.psp”. This file holds your app preferences. Move it to Trash to reset Photoshop preferences. Restart Photoshop to apply changes.
Remove Specific App Preferences
Close Photoshop before deleting preference files. Locate the preference file using the steps above. Back up the file by copying it to another folder. Delete the original preference file from the folder. Restart Photoshop. The app will create new default preference files. This method fixes issues related to corrupted or incorrect settings quickly.
Reset Individual Photoshop Tools
Resetting individual Photoshop tools helps fix issues without affecting your entire workspace. It is useful when a single tool behaves oddly or settings change accidentally. You can quickly restore tool defaults to keep your work smooth and efficient.
This process only resets the selected tool, preserving your other preferences and customizations. It keeps your workflow intact while solving specific tool problems. Below are simple steps to reset any Photoshop tool to its original settings.
Select Tool From Toolbar
Find the tool you want to reset in Photoshop’s toolbar. It could be the Brush, Eraser, or any other tool. Click to activate the tool before resetting its settings.
Access Tool Options Bar
Look at the top of the screen to find the Tool Options Bar. This bar shows settings related to the selected tool. All adjustable options like size, mode, or hardness appear here.
Choose Reset Tool Option
Right-click the tool icon on the left side of the Tool Options Bar. A small menu appears. Click “Reset Tool” to restore its default settings. This action clears any changes made to the tool’s options.
Restore All Tools To Default
Restoring all tools to their default settings in Photoshop helps fix tool issues quickly. It clears any custom changes and brings tools back to their original state. This reset ensures tools behave as expected for accurate editing. Two simple methods reset all tools fast without affecting other settings.
Right-click Tool Icon Method
Look at the Photoshop toolbar on the left side. Right-click on the tool icon you want to reset. A small menu appears with tool presets and options.
At the bottom of this menu, find and click Reset All Tools. This action returns every tool to default settings instantly. You do not need to restart Photoshop after this.
This method is quick and works well if only the tools need resetting. It keeps your other preferences unchanged.
Reset All Tools Command
Go to the top menu bar and click on Edit. From the dropdown, select Toolbar.
In the Toolbar panel, look for the Restore Defaults button. Clicking it resets the toolbar and all tools to default.
This method is useful if you want to reset the entire toolbar along with tool settings. It clears any custom tool arrangements.
Both ways help maintain smooth Photoshop use by quickly fixing tool problems. Choose the method that fits your needs best.
Reset Workspace Layouts
Resetting workspace layouts in Photoshop helps you restore the original panel arrangement. This process clears any changes that may slow down your workflow or cause confusion. It is useful after experimenting with multiple tools or accidentally closing important panels. The reset makes Photoshop feel fresh and organized again.
Navigate To Window Workspace
Open Photoshop and look at the top menu bar. Click on Window to open the dropdown menu. Hover over Workspace to see the available layout options. This area controls how your tools and panels are arranged.
Select Default Workspace
In the Workspace menu, choose the Essentials (Default) option. This action resets your workspace to Photoshop’s original layout. The panels and tools will return to their standard positions. This step is quick and restores order without affecting your projects.
Save Custom Workspace
After adjusting panels to your liking, save your setup to reuse it later. Go to Window > Workspace > New Workspace. Name your workspace and click Save. Your custom layout will appear in the Workspace menu. This saves time and keeps your Photoshop environment consistent.
Troubleshoot Common Reset Issues
Troubleshooting common reset issues in Photoshop helps keep your workflow smooth. Sometimes, resetting settings does not work as expected. Knowing how to handle these problems saves time and frustration. This section guides you through simple steps to fix reset issues effectively.
Reset Not Taking Effect
Sometimes, resetting Photoshop preferences does not change anything. This can happen if Photoshop is still running in the background. Close Photoshop completely before trying to reset preferences again. Use the keyboard shortcut: hold Control + Alt + Shift (Windows) or Command + Option + Shift (Mac) while starting Photoshop. Confirm the reset when the dialog box appears. If it still does not work, check if your user account has permission to change files.
Backup Preferences
Backing up your current Photoshop preferences is important before a reset. This keeps your custom settings safe. Go to the Photoshop preferences folder on your computer. Copy the files to another location for backup. This way, you can restore your settings if needed. Backups help prevent data loss during troubleshooting or reinstalling Photoshop.
Reinstall Photoshop If Needed
When reset issues continue, reinstalling Photoshop may fix the problem. Uninstall Photoshop using your system’s control panel or Adobe Creative Cloud app. Restart your computer after uninstalling. Download and install the latest version from Adobe’s official site. Reinstalling replaces corrupted files and restores default settings. This step often solves persistent reset problems and improves Photoshop’s performance.
Frequently Asked Questions
How Do I Get My Photoshop Back To Normal?
Close Photoshop. Relaunch holding Ctrl+Alt+Shift (Windows) or Command+Option+Shift (Mac). Confirm reset in dialog. This restores default settings.
How Do I Reset Adobe Settings To Default?
Close Adobe app. Relaunch while holding Control+Alt+Shift (Windows) or Command+Option+Shift (Mac). Confirm preference reset in the dialog. Alternatively, use “Reset to Defaults” in Preferences or delete preference files from the user’s Adobe folder. For workspace, use Window > Workspace > Reset.
How Do I Reset Photoshop Tools Settings?
Right-click a tool icon in the Options Bar and select “Reset Tool” or “Reset All Tools. ” To reset all settings, hold Alt+Ctrl+Shift (Windows) or Option+Command+Shift (Mac) while launching Photoshop and confirm the reset prompt.
How Do I Reset All Settings?
To reset all settings, close the app. Relaunch it while holding Control+Alt+Shift (Windows) or Command+Option+Shift (Mac). Confirm the reset dialog to restore default preferences.
How Do I Reset Photoshop Settings To Default?
Close Photoshop, then relaunch while holding Ctrl+Alt+Shift (Windows) or Cmd+Option+Shift (Mac). Confirm reset when prompted.
Conclusion
Resetting Photoshop settings can solve many common issues quickly. Use keyboard shortcuts for a fast preference reset. You can also reset workspace layouts through the Window menu. Deleting preference files offers a deeper reset when needed. Keep your workflow smooth by restoring default settings anytime.
This simple step helps Photoshop run more reliably. Remember to back up custom settings before resetting. Now, you can fix problems and continue creating with ease.