Is your Clicker garage door remote acting up or refusing to open your garage? Don’t worry—you can fix it yourself quickly by resetting the remote.
Knowing how to reset your Clicker garage door remote not only saves you time but also helps keep your home secure. In this guide, you’ll discover simple, step-by-step instructions to clear old codes, reprogram your remote, and get your garage door working smoothly again.
Stick with me, and by the end, you’ll have full control of your garage door at your fingertips. Let’s dive in and get your Clicker remote back in action!
Clear Existing Codes
Clearing existing codes from your Clicker garage door remote is the first step before programming new ones. This process removes all stored signals and ensures the remote works only with the desired garage door opener. Follow these simple steps to clear old codes safely and effectively.
Hold Star And Hash Keys
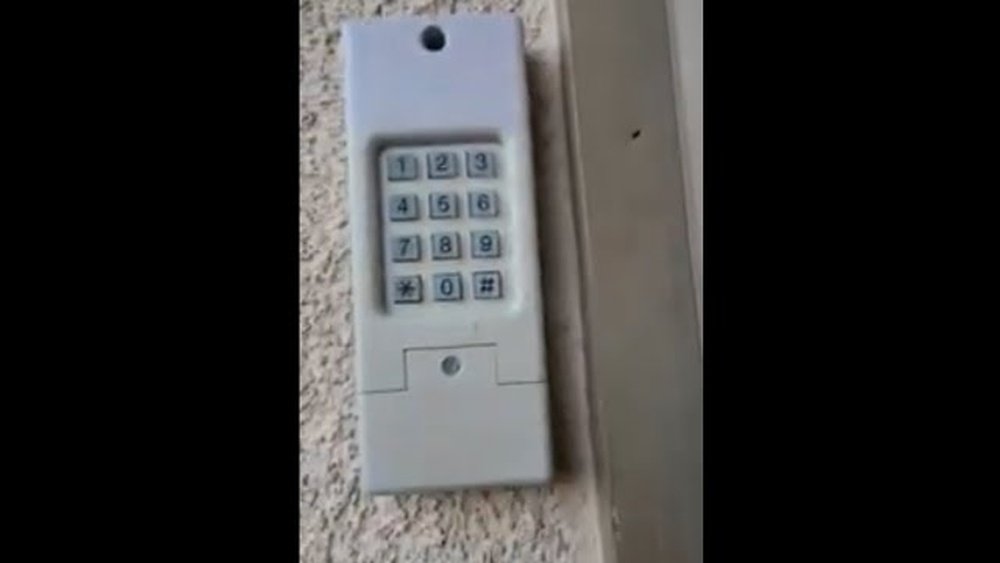
Start by pressing and holding the (star) and (hash) keys on your remote. Keep both buttons pressed at the same time. This action tells the remote to prepare for clearing stored codes.
Wait For Indicator Light
Watch the indicator light on the remote closely. It will blink while you hold the keys. Keep holding until the light stops blinking and goes off. This signals that the remote has cleared all previous codes.
Confirm Code Clearing
Release the star and hash keys once the light turns off. To ensure codes are cleared, press any button on the remote. The light should not respond as before. This confirms the remote is reset and ready for new programming.

Set New Pin
Setting a new PIN is essential for securing your Clicker garage door remote. This step ensures only authorized users can operate your garage door. The process is simple and quick, requiring just a few button presses on your keypad.
Follow the steps carefully to set a new PIN that works smoothly with your system.
Enter New Pin On Keypad
Start by pressing the keypad buttons to enter your desired new PIN. Choose a number sequence that is easy to remember but hard for others to guess. Make sure each digit is pressed firmly to register correctly.
Press Hash To Save Pin
After entering your new PIN, press the hash () key on the keypad. This action saves the new code into the system. The keypad may flash or beep to confirm the PIN has been saved successfully.
Reconfirm Pin
To avoid errors, enter the new PIN again on the keypad. This step confirms that you remembered the correct code. Press the hash () key again to finalize the process. The system will now accept your new PIN for future use.
Sync With Opener Motor
Syncing your Clicker garage door remote with the opener motor is a key step after resetting. This process links the remote control to the garage door system. It allows the remote to send signals that open and close the door. The sync process is simple and takes only a few minutes. Follow these steps carefully to ensure your remote works perfectly with the opener motor.
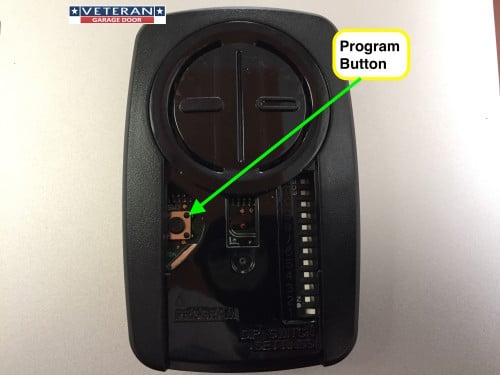
Locate Learn Button On Motor Unit
Find the garage door opener motor on your ceiling. Look for a small button labeled “Learn” or “Home.” It is usually yellow, red, or purple. This button starts the sync process. Make sure you can reach it safely before you begin.
Press And Release Learn Button
Press the Learn button once. Hold it for about one second, then release. Do not hold it too long, or you may erase all remote codes. After releasing, the system gets ready to pair with the remote.
Observe Led Light Activation
Watch the LED light near the Learn button. It should turn on or start blinking. This light means the motor unit is ready to sync. Press a button on your Clicker remote within 30 seconds. The LED light will turn off or blink differently to confirm the sync is complete.
Complete Programming
Troubleshooting common issues can save time and avoid frustration. Many problems with the Clicker garage door remote are simple to fix. Checking basic factors often restores remote function quickly. Follow these steps to identify and solve common problems easily.
Check Battery And Signal
Start by checking the remote’s battery. A weak or dead battery often causes failure. Replace the battery with a fresh one. Also, ensure you are within range of the garage door opener. Walls or metal objects can block the signal. Test the remote close to the garage door for best results.
Repeat Sync Process If Needed
The remote may lose its connection with the garage door opener. Try syncing the remote again to fix this. Press the “Learn” button on the opener motor unit. Then press the button on the remote you want to program. Wait for the opener’s light to blink or turn off, showing successful sync. Repeat these steps if the remote does not respond.
Reset And Start Over
Resetting the remote clears old codes and settings. Hold the star () and hash () keys together until the light stops blinking. This action erases previous programming. After reset, reprogram the remote from the beginning. This process often solves deeper issues with the remote.
Troubleshoot Common Issues
Resetting your Clicker garage door remote can be simple with the right approach. A smooth reset avoids frustration and saves time. Follow these practical tips to ensure your reset process goes without a hitch.
Each step matters. Small details can make a big difference in success. Keep focused and use these tips to reset your Clicker remote efficiently and correctly.
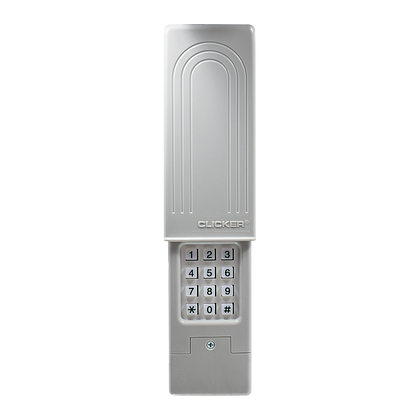
Keep Keypad Close To Motor Unit
Position the keypad near the garage door motor unit. This helps the signals connect clearly. Being close reduces interference and improves communication during programming. Avoid walls or metal objects between the keypad and motor unit to ensure a smooth reset.
Use Fresh Batteries
Check the batteries in your Clicker remote before starting. Weak batteries cause errors or failed resets. Insert new, fully charged batteries to maintain a strong signal. This simple step prevents unnecessary problems and saves time.
Follow Steps Without Rushing
Take your time with each reset step. Rushing can lead to missed presses or incorrect timing. Carefully press and hold buttons as instructed. Wait for indicator lights to change before moving to the next step. Patience ensures the remote programs correctly the first time.
Frequently Asked Questions
How Do I Reset My Clicker Garage Door Opener?
Press and hold the * and keys on the Clicker keypad until the light stops blinking. Then, press twice to save. Finally, press the garage door opener’s “Learn” button once and wait for the light to turn off, confirming the reset and reprogramming.
How To Program A Clicker Garage Door Opener Remote?
Press and hold the * and keys on the Clicker remote until the light stops blinking. Press the garage opener’s “Learn” button once, then enter your code on the remote. Wait for the opener’s light to turn off, confirming successful programming.
How To Resync Garage Door Clicker?
Press and hold * and on the Clicker keypad until the light stops blinking. Press twice to save. Then, press the garage opener’s Learn button. Wait for its light to turn off, confirming successful resync.
How To Reset Garage Door Remote Clicker Without Code?
Press and hold the * and keys on the Clicker keypad until the light stops blinking. Then, press twice to save. Next, press the “Learn” button on the garage door opener motor. Wait for the indicator light to turn off, confirming the reset and reprogramming.
How Do I Reset My Clicker Garage Door Remote?
Press and hold * and keys on the keypad until the light stops blinking to clear codes.
Conclusion
Resetting your Clicker garage door remote is simple and quick. Follow each step carefully to clear old codes and add new ones. Press the keypad buttons as shown, then sync with your garage door opener. Watch for indicator lights to confirm success.
This process keeps your garage secure and remote working well. Practice these steps to reset anytime you need. Your garage door remote will respond smoothly after resetting. Stay safe and enjoy easy access every day.