Is your garage door remote suddenly not working, leaving you stuck outside or struggling to get your car in? You’re not alone, and the good news is that resetting your garage door remote control is often a quick and simple fix.
Whether your remote lost its programming, the batteries died, or you just want to sync a new remote, this guide will walk you through every step you need. By the end, you’ll have full control over your garage door again — no costly technician needed.
Keep reading, and let’s get your remote back in action right now!
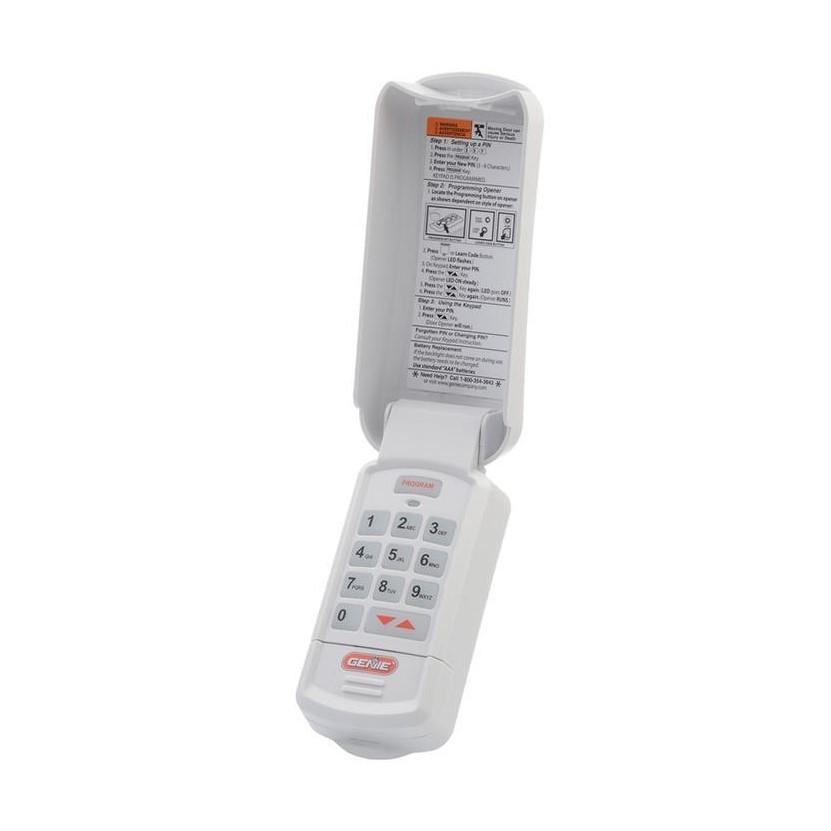
Credit: store.geniecompany.com
Prepare For Reset
Before you reset your garage door remote control, proper preparation is key. Taking a few simple steps ensures a smooth reset process. This helps avoid common errors and saves time. Follow these easy preparations to get ready for resetting your remote.
Gather Tools And Materials
Collect the tools you might need before starting the reset. Usually, you need a small flathead screwdriver and fresh batteries. Keep your garage door remote and opener manual nearby for reference. Having everything ready makes the reset faster and easier.
Locate Garage Door Opener
Find the main garage door opener unit inside your garage. It is usually mounted on the ceiling. Look for a small button labeled “Learn” or “Program.” This button is essential for syncing your remote. Knowing its location saves time during the reset.
Check Remote Batteries
Test the batteries in your remote before resetting. Weak batteries can cause reset failure. Replace old batteries with new ones for best results. Use standard alkaline batteries unless your manual says otherwise. Proper power ensures the remote sends signals correctly.
Clear Existing Codes
Clearing existing codes is a crucial step to reset your garage door remote control. This process removes old codes stored in your garage door opener. It prevents unauthorized remotes from operating your door. Clearing codes ensures only your remotes work after resetting.
Press Learn Button On Opener
Locate the “Learn” button on your garage door opener motor. It is usually near the antenna wire. Press and hold the “Learn” button for about 6 seconds. The indicator light will turn off or blink. This action erases all remote codes stored in the opener’s memory.
Erase Memory For All Remotes
After pressing the “Learn” button, all remote controls linked to the opener lose their codes. You must reprogram each remote to regain access. This step protects your garage from old or lost remotes still having access. It’s a simple way to boost security quickly.
Use Manufacturer Instructions
Each garage door opener brand may have unique reset methods. Check the manual or manufacturer’s website for exact steps. Following the specific instructions avoids damage or errors. Use the official guide for your model to clear codes correctly.
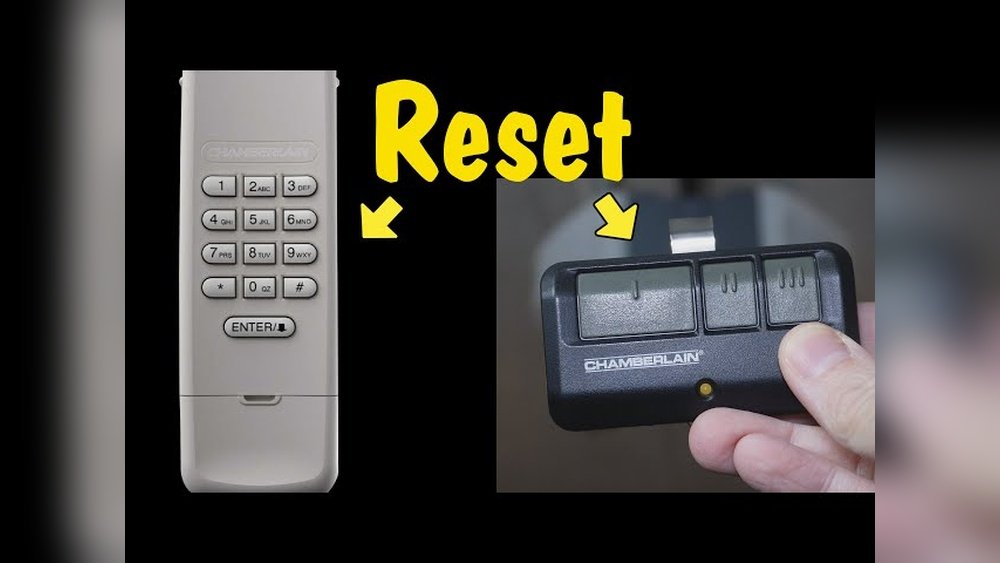
Program New Remote
Programming a new garage door remote is essential to control your door smoothly. The process connects your remote with the garage door opener. Follow these clear steps to pair your new remote quickly. No special skills needed. Just a bit of attention.
Activate Remote Programming Mode
First, find the “Learn” or “Program” button on your garage door opener unit. It is usually located on the back or side. Press and hold this button for a few seconds. The indicator light will start blinking. This means the opener is ready to pair with a remote.
Press Remote Button To Sync
Next, take your new remote. Press and hold the button you want to use for the garage door. Hold it until the opener’s light blinks or you hear a clicking sound. This action sends a signal from the remote to the opener. It tells the opener to remember this remote.
Confirm Successful Pairing
Release the remote button. Test the remote by pressing the programmed button again. Your garage door should move up or down. If it does, the pairing is successful. If not, repeat the steps carefully. Make sure the batteries in the remote are fresh for best results.

Credit: www.youtube.com
Reset Keypad Controls
Troubleshooting common issues can help restore your garage door remote’s function fast. Many problems happen due to simple causes. Checking these areas often fixes the remote without extra tools or help. Follow each step carefully to ensure your remote works well again.
Replace Dead Batteries
Dead batteries are the top reason remotes stop working. Open the remote’s battery compartment. Remove old batteries and insert new ones. Make sure the batteries face the correct way. Test the remote after replacing batteries. Always use fresh, high-quality batteries for best results.
Disable Wall Panel Lock
Some garage doors have a wall panel lock feature. This lock stops the remote from working. Locate the wall panel near your garage door. Look for a lock button or switch. Turn off the lock to allow remote control. Check your garage door manual if unsure how to disable it.
Check For Signal Interference
Signal interference can block your remote’s signal. Nearby electronic devices or metal objects cause this issue. Move any devices like routers or cordless phones away from the opener. Remove metal objects between the remote and opener. Try using the remote closer to the garage door.
Inspect Antenna And Wiring
The garage door opener’s antenna must be intact and in the right position. Locate the antenna hanging from the opener unit. Ensure it is straight and not damaged. Check wiring connections on the opener for loose or broken wires. Secure any loose wires to restore proper signal reception.
Troubleshoot Common Issues
Testing the remote functionality is an essential step after resetting your garage door remote control. It confirms the remote communicates correctly with the garage door opener. This step helps identify any issues with the remote or the opener itself before concluding the reset process.
Operate Garage Door
Press the remote button to open or close the garage door. Watch for any delay or failure in response. The door should move smoothly without stopping or reversing unexpectedly. If the door does not operate, check the battery or repeat the reset steps carefully.
Verify Range And Response
Stand at different distances from the garage door while pressing the remote. The remote should work within the expected range, usually up to 100 feet. Notice if the door responds slower or not at all at certain distances. This check ensures the remote signal strength is sufficient.
Adjust Remote Placement If Needed
Try holding the remote at different angles or heights to improve signal reception. Avoid obstacles like metal objects or thick walls between the remote and the opener. Small changes in placement can greatly affect the remote’s performance. Find the position where the door responds best and use that for daily operation.
Test Remote Functionality
Maintaining your garage door remote control’s smooth operation saves time and prevents frustration. Simple care tips keep your remote working properly for a long time. Follow these easy steps to avoid common issues and enjoy reliable performance every day.
Regular Battery Replacement
Check the battery in your remote often. Weak batteries cause poor signal and delayed response. Replace batteries at least once a year or when the remote shows signs of low power. Use the correct battery type for your model. Removing old batteries helps avoid corrosion inside the remote.
Keep Opener Clean And Dry
Dust and moisture can damage your garage door opener and remote. Wipe the remote’s buttons and case with a dry cloth regularly. Avoid exposing the remote to water or extreme humidity. Store it in a safe, dry place when not in use to protect its electronic parts.
Avoid Signal Blocking Objects
Objects between the remote and the opener can block signals. Keep the path clear for the remote’s signal to reach the garage door. Metal, walls, or other electronics may interfere with the remote’s function. Stand closer to the garage door if the remote does not respond well.
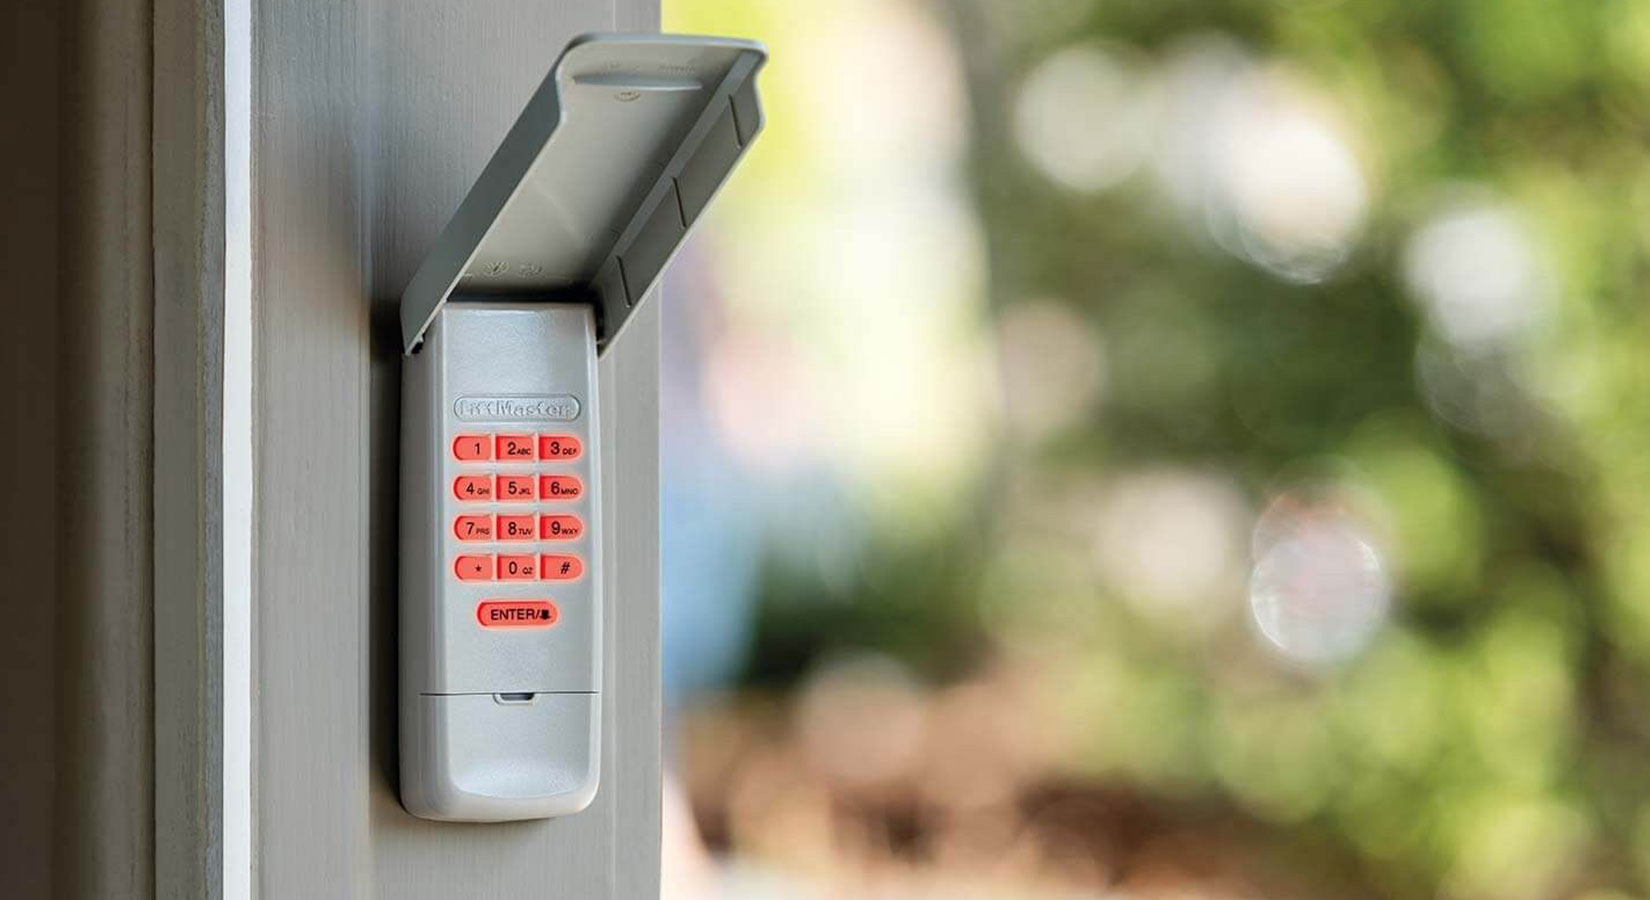
Credit: allsecurityequipment.com
Frequently Asked Questions
How Do I Reprogram My Garage Door Opener Clicker?
Press and hold the garage door opener’s “Learn” button until the indicator light glows. Then, press your remote’s button to sync. Release both buttons. Test the remote to confirm programming. Refer to your opener’s manual for specific instructions or troubleshooting tips.
Why Is My Garage Door Not Responding To The Remote?
Your garage door remote may not respond due to dead batteries, signal interference, or a locked wall panel. Check and replace batteries, ensure the wall lock is off, and try reprogramming the remote. Damaged antenna or opener issues could also cause problems.
How To Reconnect A Garage Door Opener Remote?
Press and hold the remote’s programming button. Press the garage door opener’s “Learn” button. Release both buttons. Test the remote to ensure it reconnects properly.
How To Reset Remote For Liftmaster Garage Door?
Press and hold the remote’s button until the LED blinks. Press the garage door opener’s “Learn” button. Press the remote button again to sync. Release all buttons. The remote resets and pairs with your LiftMaster garage door opener.
How Do I Reset My Garage Door Remote Control?
Press and hold the remote’s reset button until the LED blinks, then reprogram it to your opener.
Conclusion
Resetting your garage door remote control is simple with clear steps. Always start by checking the battery condition. Follow the programming guide carefully to avoid mistakes. Keep the manual handy for your specific model. Regular maintenance helps your remote work smoothly.
Troubleshooting common issues saves time and frustration. A properly reset remote ensures your garage door opens safely. Try these easy tips to keep control in your hands. Stay patient and follow each step for best results.