If your Infant Optics monitor isn’t working right, it can leave you feeling worried and disconnected from your baby. You rely on this device to keep an eye on your little one, so when the screen freezes, the audio cuts out, or it just won’t turn on, you need a quick, simple fix.
Resetting your Infant Optics monitor might be the solution you’re looking for. In this guide, you’ll discover easy steps to reset your monitor and troubleshoot common problems. Keep reading to get your monitor back up and running, so you can watch over your baby with confidence again.

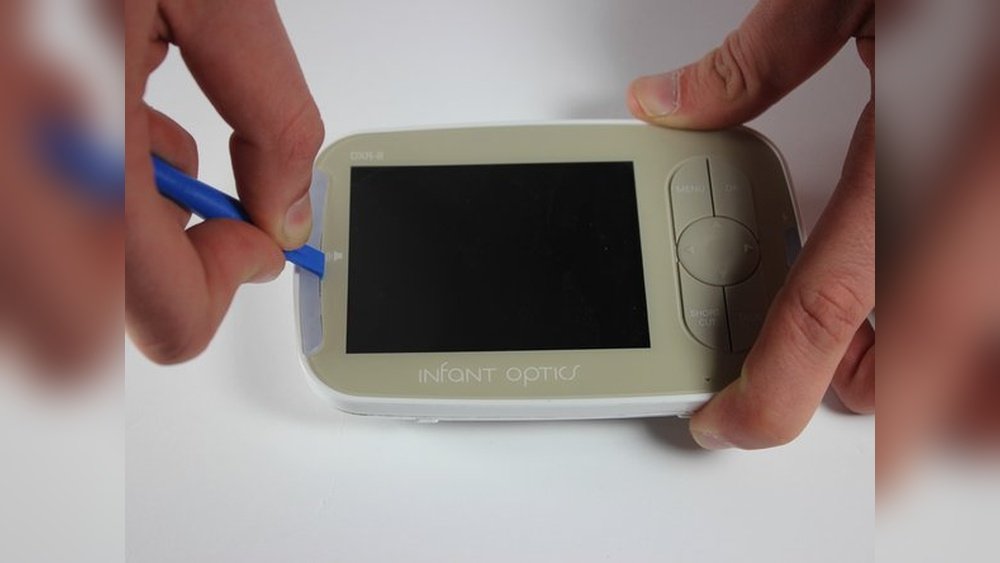
Credit: www.reddit.com
Quick Reset Steps
Resetting your Infant Optics monitor can fix many common issues quickly. Follow these easy steps for a fast reset. This process helps restore the connection between the camera and monitor. It also clears minor glitches that may affect performance.
Power Down Camera And Monitor
Start by turning off both the camera and the monitor. Press the power button on each device until they shut down completely. This step stops all current operations and prepares the devices for a reset.
Unplug Power Cords
Next, unplug the power cords from both the camera and the monitor. Removing power ensures that the devices fully turn off. It also helps clear any temporary electrical issues inside the units.
Remove Monitor Battery
Open the battery compartment on the monitor. Carefully take out the battery and wait for about 30 seconds. Removing the battery cuts all power to the monitor and resets its internal memory.
Reassemble And Power On
Put the battery back into the monitor and close the compartment. Plug the power cords back into both the camera and monitor. Turn on the camera first, then the monitor. The devices should now reconnect and work properly.

Credit: infantoptics.com
Troubleshooting Reset Issues
Resetting your Infant Optics monitor usually solves many common issues. Sometimes, the reset may not work as expected. Troubleshooting helps find the root cause quickly. Follow these steps to fix reset problems and get your monitor working again.
Check Power Connections
Ensure the power cords are firmly plugged into the monitor and wall outlet. Loose connections cause power interruptions. Try unplugging and plugging the cords back in. This simple step often restores power and allows a successful reset.
Inspect Battery And Charging Cable
Check the battery level of the parent unit. A drained battery stops the monitor from turning on. Use the original charging cable to recharge the battery fully. Replace the battery if it no longer holds a charge. Good battery health is essential for reset success.
Avoid Signal Blockage
Large metal objects block the radio signal between the camera and monitor. Keep the camera unit away from refrigerators, filing cabinets, and mirrors. Thick walls or reinforced concrete also reduce signal strength. Place units closer and in open spaces to avoid interference.
Contact Infant Optics Support
If problems persist after these checks, reach out to Infant Optics customer support. They offer model-specific advice and troubleshooting help. Support teams can guide you through advanced fixes or warranty options if needed.
Fixing Common Problems
Infant Optics monitors sometimes face issues that affect their performance. These common problems can cause worry and disrupt your peace. Fixing these issues quickly ensures your monitor works well and keeps your baby safe.
Below are simple solutions to common problems that many users experience. These tips help you reset and restore your Infant Optics monitor effectively.
Monitor Not Turning On
First, check the battery level. Replace or recharge if the battery is low. Ensure the power adapter is plugged firmly into the wall and monitor. Remove and reinsert the battery to reset power. If the monitor still does not turn on, try a full reset by turning off both units, unplugging them, and removing the battery. Wait 30 seconds before powering back on.
Frozen Screen Solutions
A frozen screen often means the monitor or camera needs a reset. Turn off both the camera and monitor. Unplug all power cords and remove the battery from the parent unit. Wait a minute, then reconnect and power on. Move the camera closer to the monitor to improve signal strength. This action can clear frozen screens caused by weak connections.
Purple Tint Or Display Issues
A purple tint on the screen can indicate a display or camera problem. Restart both camera and monitor units to refresh the connection. Check the camera lens for dirt or smudges and clean gently. If the problem persists, try resetting the monitor by removing the battery and unplugging all cords for a full power cycle. Persistent tint issues may require contacting customer support.
Night Vision Malfunctions
Night vision issues can cause the screen to go dark or lose clarity. Ensure the camera’s night vision mode is enabled. Clean the camera lens to remove any dust or smudges blocking the infrared sensors. Restart both units to reset night vision features. If night vision still fails, check for firmware updates or consult support for further help.
Optimizing Monitor Performance
Optimizing your Infant Optics monitor performance helps ensure clear video and reliable audio. Small adjustments can improve signal strength and battery life. These steps keep the monitor working smoothly for your peace of mind. Follow simple tips on camera placement, interference reduction, battery care, and using spare accessories to enhance your experience.
Proper Camera Placement
Place the camera where it has a clear view of your baby. Avoid corners or behind furniture that block the signal. Keep the camera within the recommended distance from the monitor. Position it away from walls made of concrete or metal that can weaken the signal. A good angle and clear line of sight improve video quality and connection stability.
Reducing Interference
Electronic devices can cause signal interference with your monitor. Keep the camera and monitor away from cordless phones, Wi-Fi routers, and microwaves. Avoid placing the units near large metal objects, such as filing cabinets or refrigerators. Minimizing obstacles and electronic noise keeps the video feed clear and steady.
Battery Maintenance Tips
Charge the monitor’s battery regularly to prevent sudden shutdowns. Remove the battery if you won’t use the monitor for a long time. Use only the original charger to protect battery health. Replace the battery if it no longer holds a charge. Proper battery care extends the device’s lifespan and reliability.
Using Spare Accessories
Use spare batteries or power adapters if available to avoid downtime. Keep extra camera lenses or covers to replace damaged parts. Spare accessories help maintain monitor function without delay. Store them in a safe place for quick access when needed. They ensure your monitor works well every day.
Pairing And Syncing Devices
Pairing and syncing devices is essential for the Infant Optics monitor to work correctly. The camera and parent unit must connect to share live video and audio. Without proper pairing, the monitor will not display any footage. This section guides you through resetting and pairing your devices smoothly. Follow each step carefully to ensure a strong and stable connection.
Reset Before Pairing
Start by resetting both the camera and parent units. Turn off the camera and monitor. Unplug their power cords from the outlet. Remove the battery from the parent unit. Wait for about 30 seconds. This clears any previous connection data and prepares the devices for fresh pairing.
Pairing Procedure
Power on the camera unit first. Then turn on the parent unit. Press and hold the pairing button on the camera for about 3 seconds. The LED light on the camera will start blinking. On the parent unit, press and hold the pairing button until the screen shows a connection message. Wait a few seconds for the devices to sync. A solid light or live video confirms successful pairing.
Troubleshoot Pairing Failures
Check the distance between the camera and monitor. Keep them within 30 feet for best signal strength. Remove any metal objects or walls that block the signal. Make sure both devices have full battery charge or are plugged in. Restart both units and try pairing again. If pairing still fails, reset both devices once more. Persistent issues may require contacting Infant Optics support for help.

Credit: www.youtube.com
Frequently Asked Questions
How Do I Reset My Infant Optics Monitor?
To reset your Infant Optics monitor, power off both camera and parent units. Remove the battery and unplug all cords. Wait 30 seconds, then reconnect and power on. This clears minor glitches and restores normal function. Contact Infant Optics support if issues persist.
Why Is My Infant Optics Pro Monitor Not Working?
Your Infant Optics Pro monitor may not work due to a dead battery, loose power connections, or signal interference. Restart both units by powering off, unplugging, and removing batteries. Ensure the camera and monitor are within range without metallic obstructions blocking the signal.
How Do I Reset A Baby Monitor?
To reset a baby monitor, turn off both camera and parent units. Unplug power cords and remove the parent unit battery. Wait a few seconds, then reconnect and power on. This power cycle often resolves common issues quickly.
How To Pair An Infant Optics Monitor?
Turn on both camera and monitor units. Press and hold the monitor’s power button for two seconds. Ensure they connect automatically within range.
How Do I Reset My Infant Optics Monitor Quickly?
Turn off both units, unplug power cords, remove the parent unit battery, wait 30 seconds, then restart.
Conclusion
Resetting your Infant Optics monitor can solve many common problems quickly. Power cycling both the camera and parent units often restores normal function. Always check connections and battery levels before deeper troubleshooting. Keep the units close to avoid signal issues.
If problems persist, contacting Infant Optics support helps find the right solution. Simple steps can keep your baby monitor working smoothly and give you peace of mind.