If you drive a Toyota, you’ve probably seen the “Maintenance Required” light pop up on your dashboard at some point. It’s a helpful reminder that your vehicle needs routine care, like an oil change, to keep running smoothly.
But once you’ve taken care of the maintenance, that light can be annoying if it doesn’t turn off on its own. You might wonder: how do you reset the Maint Reqd light on your Toyota? Don’t worry—this guide will walk you through simple steps to turn that light off quickly and easily, whether you have an older model with a key ignition or a newer one with push-button start.
Keep reading, and you’ll have your dashboard back to normal in no time.

Credit: www.tvtoyota.com
Maintenance Required Light Basics
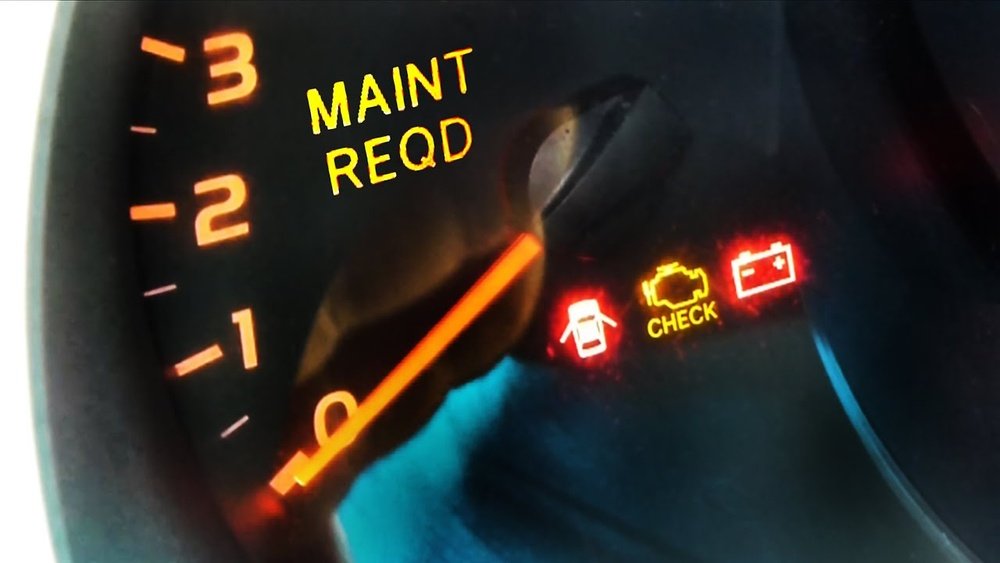
The maintenance required light on a Toyota dashboard is an important reminder. It tells drivers when the vehicle needs routine service. This light helps keep the car in good condition.
Understanding this light is simple. Knowing what it means and when it appears helps avoid bigger problems. It also ensures your Toyota runs smoothly and safely.
What The Light Means
The maintenance required light signals scheduled upkeep. It does not warn about urgent issues. Instead, it reminds you to change the oil or check the vehicle after a set number of miles.
This light often turns on after every 5,000 miles driven. It helps keep your engine healthy and parts working well.
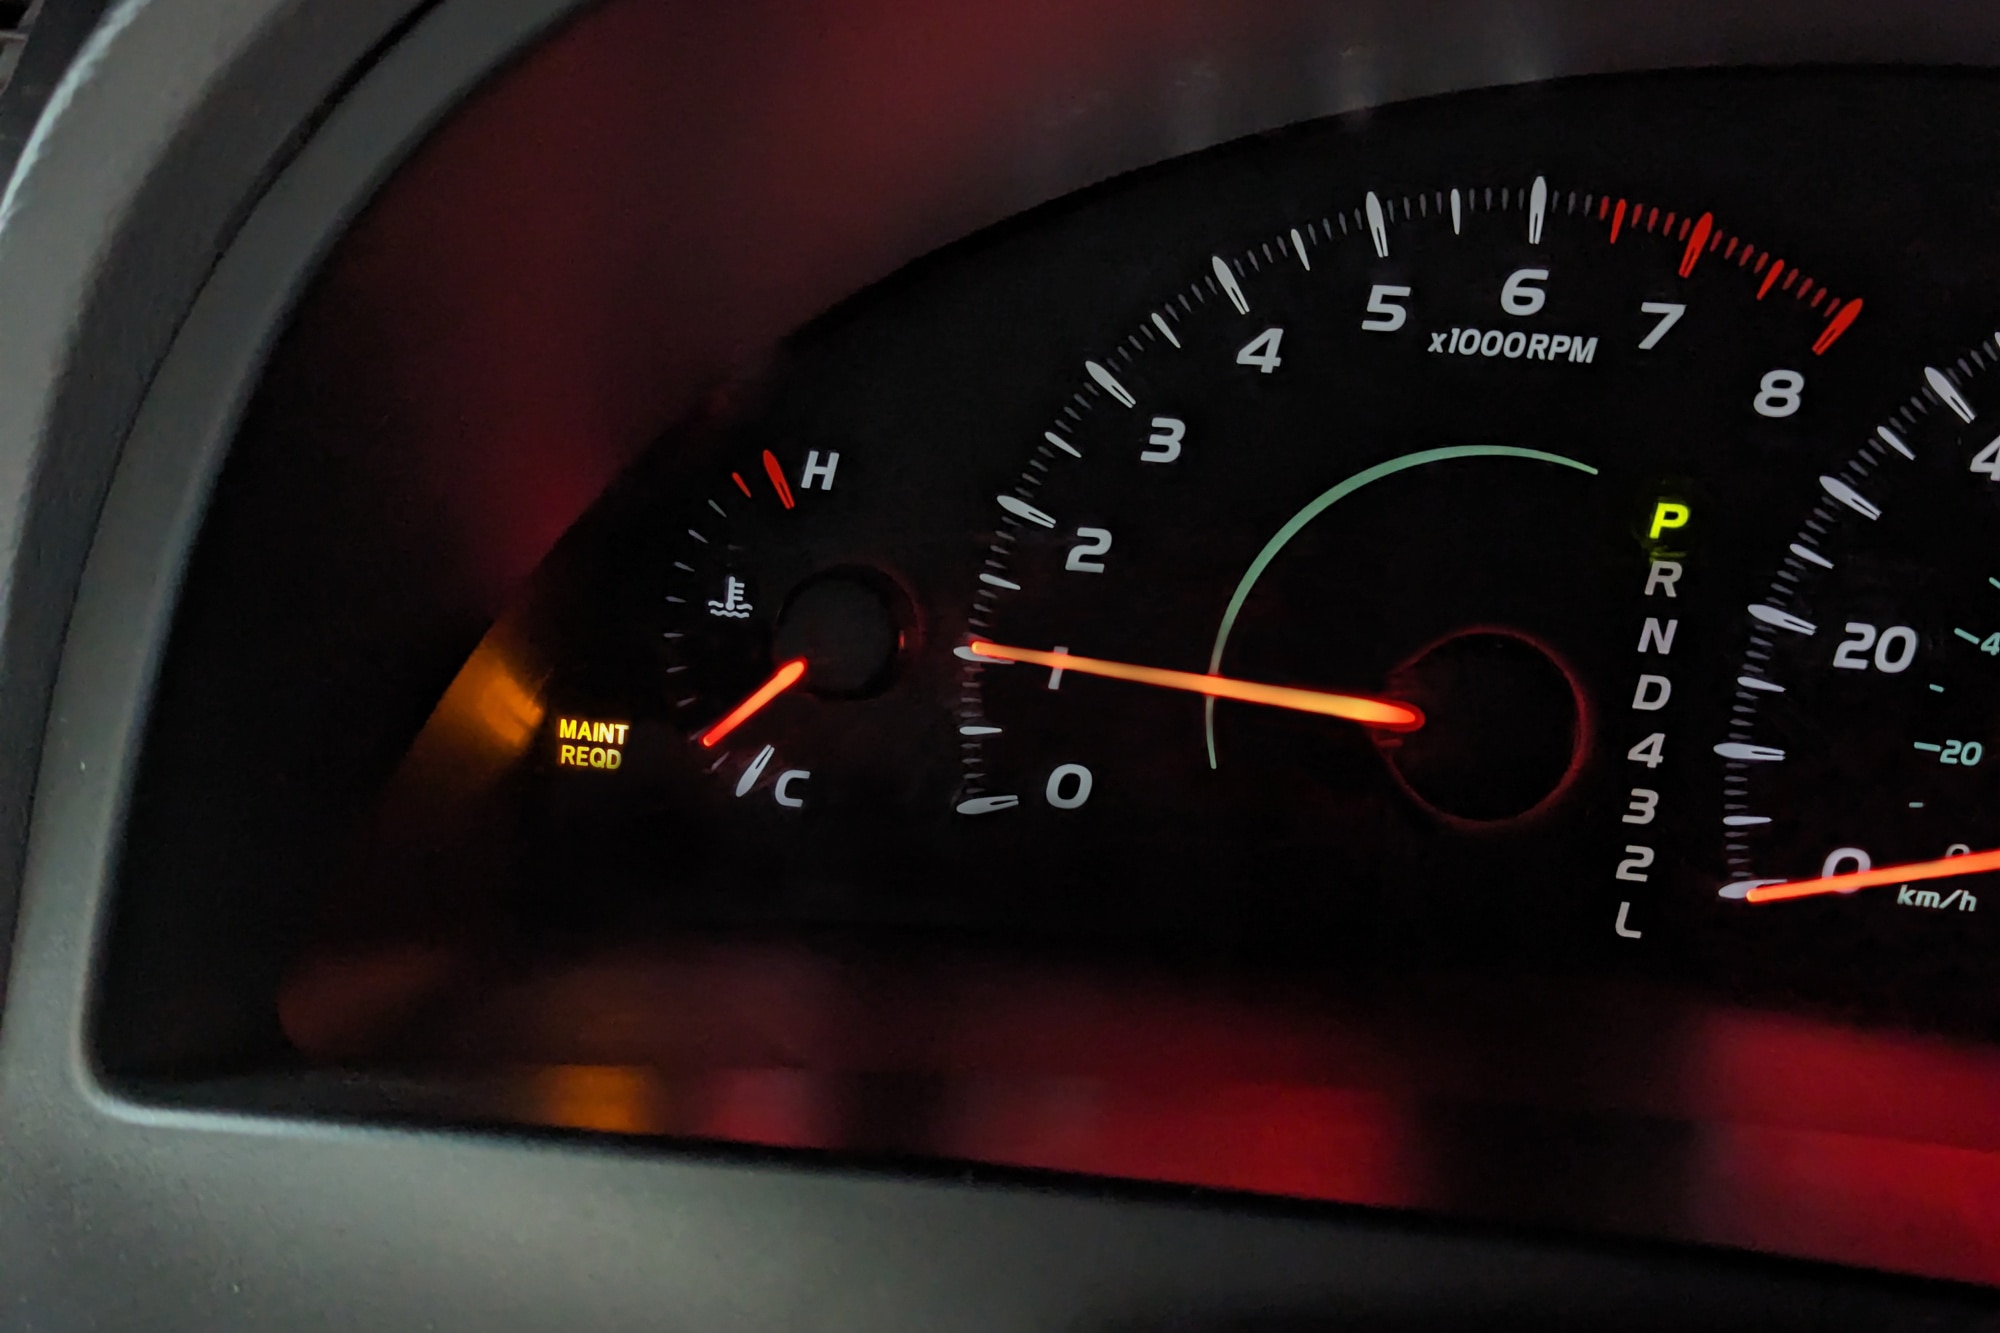
When It Usually Appears
The light usually appears after a regular driving distance. Toyota cars track miles automatically. When the mileage reaches the maintenance interval, the light turns on.
It also comes on after an oil change if the light was not reset. The light stays on until you reset it manually.
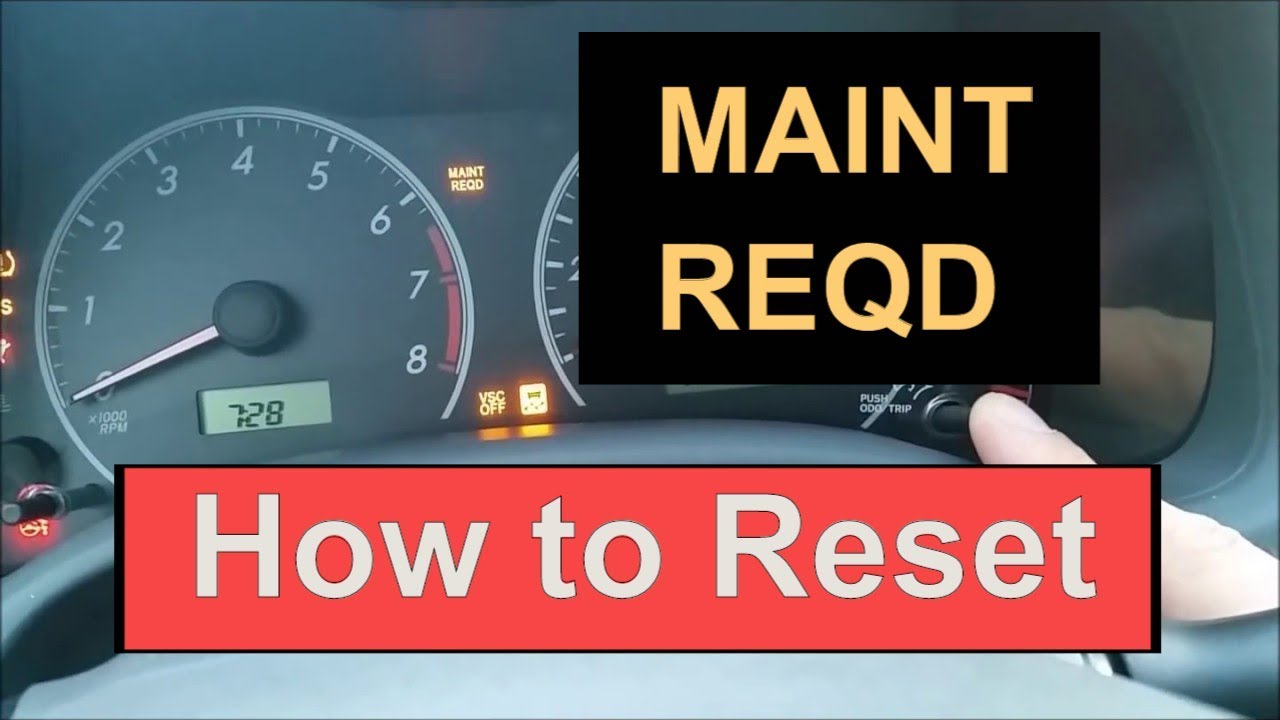
Credit: www.youtube.com
Resetting Older Toyota Models
Resetting older Toyota models requires a different approach than newer cars. These models usually have a key ignition and a trip odometer button. The maintenance required light can be reset without tools. The process is simple and quick.
Older Toyotas do not have digital menus. Instead, the reset uses the key and the trip button. This method works for many models from the 1990s and early 2000s. Follow the steps carefully to clear the light.
Using Key Ignition And Trip Button
Start by turning the ignition to the “Off” position. Do not remove the key yet. Next, press and hold the trip odometer reset button. While holding the button, turn the ignition to the “On” position. Do not start the engine. Keep holding the button until the dashes appear on the display. After a few seconds, the dashes will change to zeros. This means the maintenance light reset is complete.
Step-by-step Reset Process
- Insert the key and turn it to “Off”.
- Press and hold the trip reset button on the dashboard.
- Turn the key to the “On” position without starting the engine.
- Hold the trip button until dashes appear, then change to zeros.
- Release the trip button.
- Turn the ignition off and then start the car.
- The maintenance required light should now be off.
This process resets the maintenance light for oil changes and other routine services. Repeat the steps if the light does not turn off the first time. The method is reliable and easy for most older Toyota models.
Resetting Newer Toyota Models
Resetting maintenance required lights on newer Toyota models involves simple steps. These models often feature push button starts and digital menus. This section guides you through the reset process with clear instructions. Follow each step carefully to clear the maintenance light.
Using Push Button Start
First, press the power button twice without pressing the brake. This turns on accessory mode. The engine stays off but the dashboard lights up. This step prepares your car for menu navigation.
Navigating The Digital Menu
Use the steering wheel arrows to scroll through the digital display. Find the “Settings” menu, marked by a gear icon. Inside “Settings,” select “Vehicle Settings.” Then locate “Scheduled Maintenance.”
Confirming The Reset
Choose “Reset Data” under “Scheduled Maintenance.” The system asks for confirmation. Select “Yes” and press “OK.” The maintenance required light should now turn off. This confirms the reset is complete.
Tips To Ensure Successful Reset
Resetting the maintenance required light on your Toyota ensures the system tracks your next service correctly. Follow these simple tips to make sure the reset works properly. Proper steps help avoid confusion and keep your dashboard clear. A successful reset saves time and stress.
Check Trip Meter Setting
Before resetting, verify the trip meter is set to the correct mode. Use the trip button to switch between trip A, trip B, and odometer. The reset works only if the trip meter shows the odometer or trip A, depending on your model. Confirming this avoids reset failure.
Repeat Reset If Needed
Sometimes, the reset does not take on the first try. If the maintenance light stays on, repeat the steps carefully. Turn the ignition off and on, then hold the trip button longer. Patience is key. A second or third attempt often solves the problem.
Common Mistakes To Avoid
Do not start the engine during the reset process unless instructed. Pressing the reset button too briefly may not work. Avoid skipping steps, like turning the ignition to the correct position. Using the wrong menu settings on newer models causes errors. Follow the exact instructions for your Toyota model.
Resetting Maintenance Light On Toyota Camry
The maintenance required light on a Toyota Camry signals the need for routine service. Resetting this light helps keep track of oil changes and other scheduled maintenance. It does not fix mechanical issues, but clears the reminder after service is done. The process varies slightly between older and newer Camry models. Follow the correct steps to reset the light and keep your dashboard clear.
Specific Steps For Camry Models
For older Camry models with a key ignition and trip odometer button:
- Turn the ignition to the “On” position without starting the engine.
- Press and hold the trip odometer reset button until dashes appear.
- Keep holding until the dashes turn to zeros.
- Turn the ignition off, release the button, then start the car.
- The maintenance light should now be off.
For newer Camry models with push-button start and digital display:
- Press the power button twice without pressing the brake to enter accessory mode.
- Use the steering wheel arrows to navigate to the “Settings” menu (gear icon).
- Select “Vehicle Settings,” then “Scheduled Maintenance.”
- Choose “Reset Data,” then confirm by selecting “Yes” and “OK.”
This resets the maintenance required light on newer Camry models.
Video Tutorials And Resources
Visual guides help make resetting the maintenance light easier. Several videos show each method step-by-step. Search for “Toyota Camry maintenance light reset” on YouTube. Videos by channels like Beachtroll and OrtoTech Garage cover both key ignition and push-button start models. Watching these tutorials can clarify the process and save time. They show button locations and menu navigation clearly.
When To Seek Professional Help
Knowing when to seek professional help is important for your Toyota’s health. The Maintenance Required (Maint Reqd) light often signals routine care. Sometimes, the light won’t reset after you try. Other times, the light may come back quickly. These signs suggest a deeper issue that needs expert attention.
Persistent Maintenance Light Issues
The Maint Reqd light staying on can mean a problem. It might be a sensor error or system glitch. It could also signal missed or incomplete maintenance. If the light stays on despite resetting efforts, do not ignore it. Persistent issues may harm your vehicle’s engine or safety systems. Professionals have the tools to find the exact cause.
Diagnostic Tools And Services
Professional mechanics use diagnostic tools to read your car’s codes. These tools show detailed error messages beyond the maintenance light. They can identify engine, transmission, or sensor faults. Mechanics also offer services like oil changes and system checks. These services ensure your Toyota runs smoothly and safely. Relying on experts saves time and prevents costly repairs later.
Credit: www.capitalone.com
Frequently Asked Questions
How To Reset Maint Reqd Toyota Camry?
Turn the ignition to “On” without starting. Hold the trip reset button until dashes appear, then zeros. Release the button and start the car. For push-start models, access “Settings” via steering wheel, select “Scheduled Maintenance,” then “Reset Data,” and confirm.
How Do I Reset The Maintenance Light On A 2017 Toyota?
Turn the ignition to “On” without starting. Hold the trip reset button until zeros appear. For push start, press power twice, go to Settings > Vehicle Settings > Scheduled Maintenance, then select Reset Data and confirm. Repeat if the light returns.
How To Reset Maintenance Light On Toyota 2018?
Turn ignition to “On” without starting. Hold trip reset button until dashes appear, then zeros. For push-start models, access “Settings” via steering wheel, select “Scheduled Maintenance,” then “Reset Data,” and confirm. Repeat if needed or ensure on “Trip A” before resetting.
How To Reset Maintenance Light On Toyota 2015?
Turn the ignition to “On” without starting the engine. Hold the trip meter reset button until zeros appear. Release the button and start the engine; the maintenance light will turn off. For push-button models, access “Settings,” then “Scheduled Maintenance,” and select “Reset Data.
” Confirm to finish.
How Do I Reset The Maint Reqd Light On Older Toyotas?
Turn the ignition to “On” without starting. Hold the trip reset button until dashes appear, then zeros.
Conclusion
Resetting the Maint Reqd light on your Toyota is simple and quick. Follow the steps carefully for your car model. Doing this helps keep track of oil changes and maintenance. Remember, the light reminds you to service your vehicle. Regular resets ensure your Toyota runs smoothly and safely.
Don’t ignore the warning; timely maintenance protects your engine. Repeat the reset if the light returns soon. Stay on top of your car care with these easy steps.