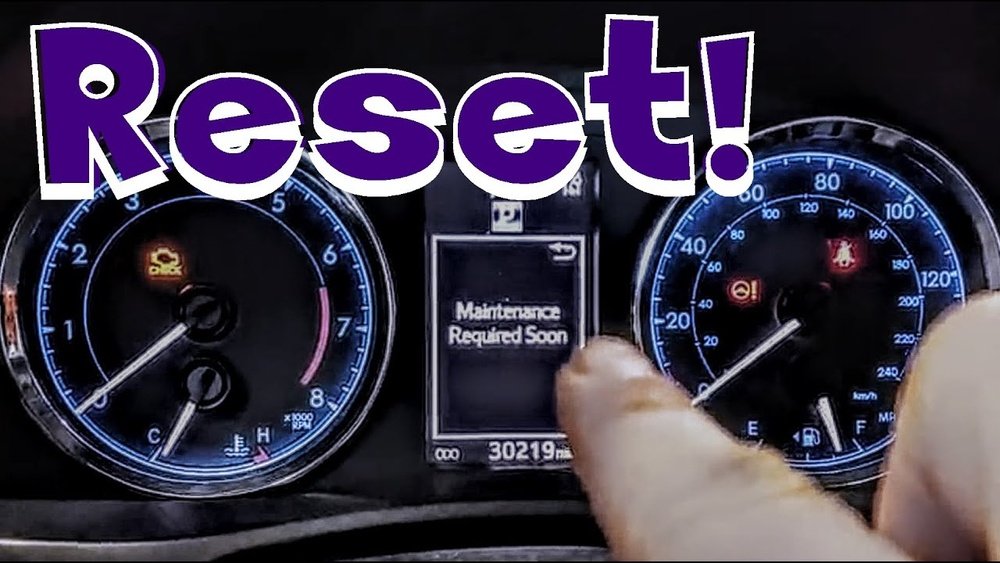
If you drive a Toyota, you’ve probably seen that “Maintenance Required” light pop up on your dashboard. It’s a helpful reminder that your vehicle needs routine care, but once the service is done, that light can be annoying if it doesn’t turn off.
You might wonder, “How do I reset this light without visiting the dealership? ” The good news is, resetting the maintenance required light on your Toyota is easier than you think—and you can do it yourself in just a few simple steps.
Whether you have a newer model with a digital display or an older Toyota with a manual odometer button, this guide will walk you through the exact process. Keep reading to learn how to reset your Toyota’s maintenance light quickly and get back on the road with confidence.
Credit: www.youtube.com
Resetting Maintenance Light On Newer Toyotas
Resetting the maintenance light on newer Toyota vehicles is simple and quick. These models use a multi-information display (MID) controlled by steering wheel buttons. The process involves turning on the ignition without starting the engine, accessing the settings menu, and confirming the reset. Follow these clear steps to reset your maintenance required light easily.
Turning Ignition On Without Starting
Press the start button twice without pressing the brake pedal. This turns the ignition on without starting the engine. For key models, turn the key to the “ON” position without starting the engine. The dashboard lights will come on, showing the MID screen.
Accessing Settings Via Steering Wheel
Use the arrow buttons on the steering wheel to navigate the MID. Look for the gear or settings icon on the display. Press the “Enter” or “OK” button to select this menu. This opens the settings where maintenance options are available.
Navigating To Scheduled Maintenance
Scroll through the settings menu using the arrow buttons. Find the “Scheduled Maintenance” option. Highlight it and press “Enter” or “OK” to open the maintenance reset screen. This screen allows you to reset the maintenance reminder.
Confirming The Reset
The screen will ask if you want to reset the maintenance data. Select “Yes” by pressing the “Enter” or “OK” button. The maintenance required light will turn off. Turn off the ignition and start the engine to check the reset was successful.
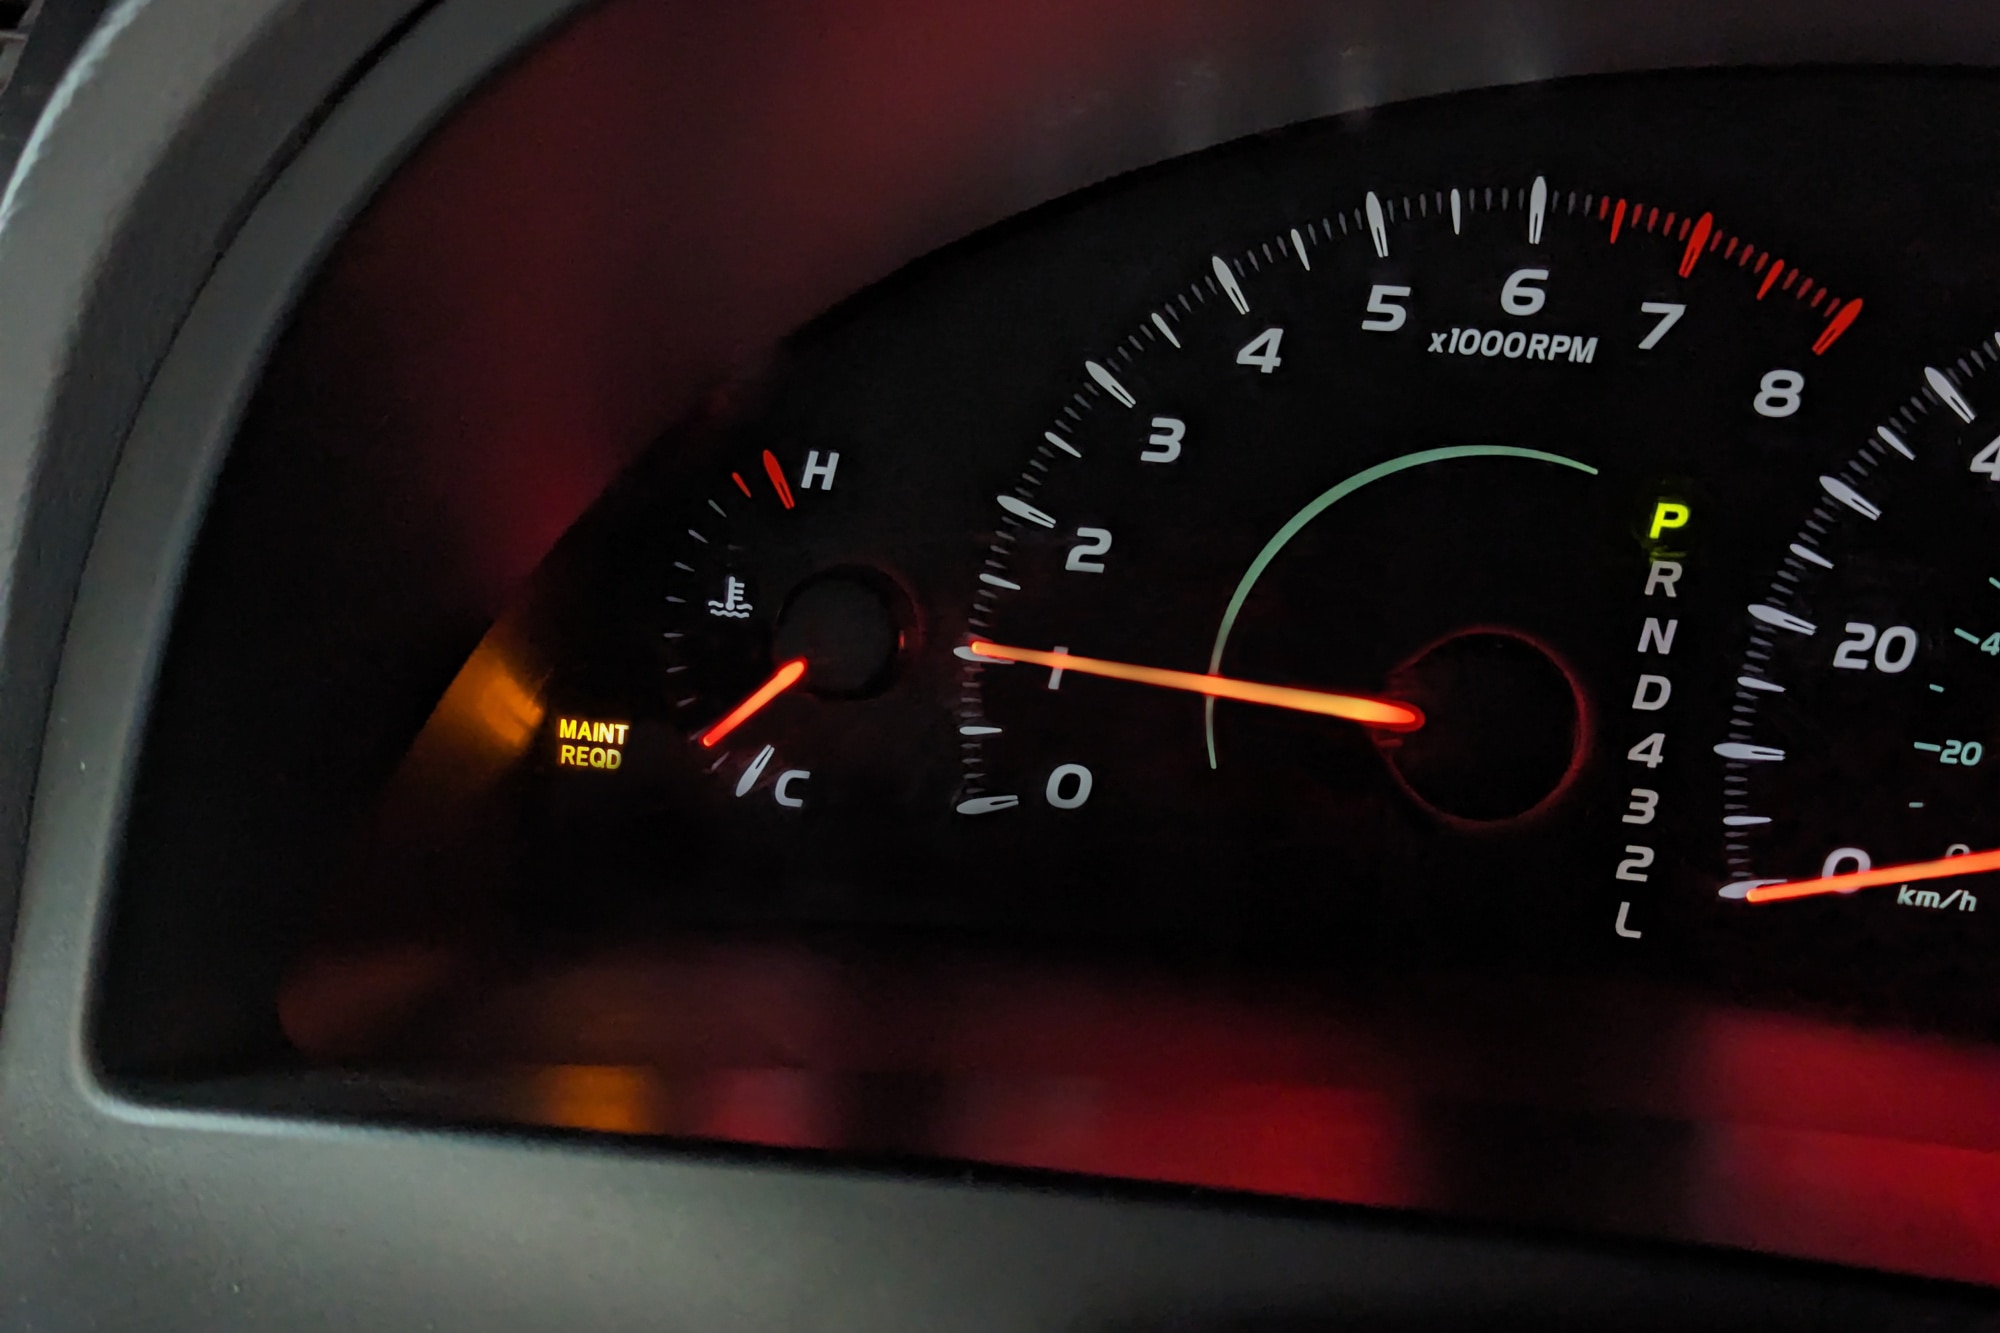
Resetting Maintenance Light On Older Toyotas
Resetting the maintenance light on older Toyota models is simple. It helps keep track of oil changes and routine services. This reminder light turns on after certain miles to alert you. Clearing the light after maintenance is important for accurate tracking.
Older Toyotas do not have digital menus for resetting. Instead, they use physical buttons and the ignition key. Follow the steps carefully to reset the maintenance required light.
Using The Odometer/trip Button
First, locate the odometer or trip button on the dashboard. This button changes the display between trip meters and total mileage. It also helps in resetting the maintenance light.
Press the button until the odometer shows the total mileage, not the trip readings. Make sure the maintenance light is on before you start.
Turning Key To On Position
Next, insert the key into the ignition. Turn the key to the “On” position without starting the engine. This position powers the dashboard lights and electronics.
The maintenance light should stay lit during this step. Do not turn the key to “Start.”
Holding And Releasing The Button
Press and hold the odometer/trip button. Keep it pressed while the key is in the “On” position. Hold the button for about 10 seconds.
The maintenance light will blink and then go off. Release the button after the light turns off. This confirms the reset.
Verifying The Reset
Turn the key to the “Off” position. Wait a few seconds, then turn it back to “On.” Check if the maintenance light is off.
The light should stay off if the reset was successful. If it still shows, repeat the steps carefully.
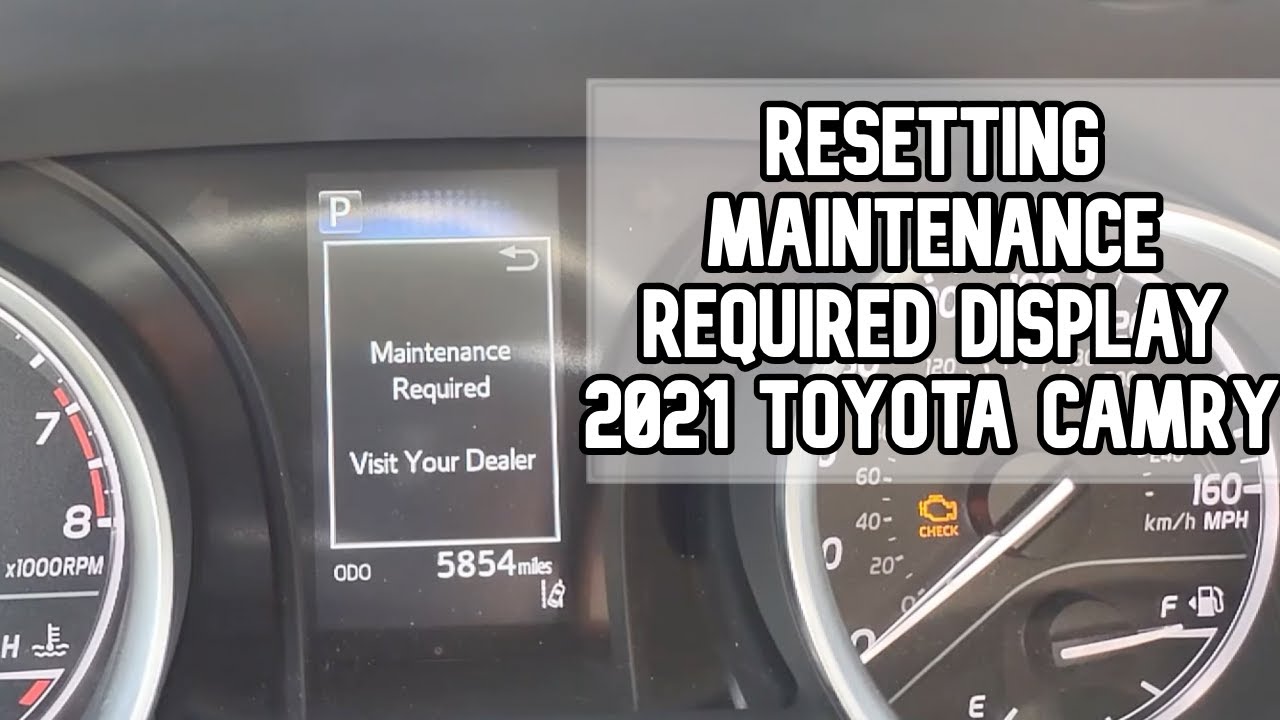
Step-by-step Reset For Toyota Camry
Resetting the maintenance required light on a Toyota Camry is simple. Follow these clear steps to turn off the alert after servicing. This process helps keep your dashboard clean and reminds you only when it is necessary. The steps below guide you through the reset in just a few moments.
Turning Ignition To On
Insert the key into the ignition. Turn it to the “On” position without starting the engine. The dashboard lights will come on. This step powers the car’s electronics and prepares the system for reset.
Pressing And Holding Odometer Button
Locate the odometer/trip button on the dashboard. Press and hold this button firmly. Keep holding it while you move to the next step. This button controls the display and triggers the reset.
Waiting For Display To Reset
After about 10 seconds, the odometer will start to blink or show dashes. Keep the button pressed until the display returns to normal. This signals the maintenance light has reset. Release the button once the display stops blinking.
Starting Car To Confirm
Turn the ignition off and then start the engine. Check that the maintenance required light is no longer visible. If it stays off, the reset was successful. Your Toyota Camry is now ready for the road without the reminder light.
Credit: www.redmccombstoyota.com
Tips For Daily Drivers
Resetting the maintenance required light on your Toyota is a simple task. Daily drivers benefit from knowing the correct steps. This helps keep your dashboard clear and your vehicle in good shape. Follow these clear tips for a smooth reset process.
Ensuring Vehicle Is Off Before Reset
Make sure your Toyota is completely off. The key should be out or in the “off” position. This prevents errors during the reset. Do not start the engine before you begin. Starting the car can interrupt the reset process.
Selecting Trip A On Display
Turn the key to the “on” position without starting. Use the trip button to cycle through the display. Stop at “Trip A” on the screen. This is the mode needed to reset the maintenance light.
Combining Button Press With Key Turn
Press and hold the trip button firmly. While holding, turn the key to “off” then back to “on.” Keep holding the button for about 10 seconds. The light will blink or turn off, showing the reset worked.
Checking Light Status After Reset
Turn the ignition off and then start the car. Check if the maintenance required light is off. If it stays off, the reset was successful. If the light returns, repeat the steps carefully or check your manual.
Common Issues And Troubleshooting
The “Maintenance Required” light on a Toyota is helpful but can cause confusion. Sometimes, the light stays on even after resetting. Other times, users may not reset it correctly. This section covers common issues and ways to fix them. It helps you understand why the light might not turn off. It also guides you on using the multi-information display properly. Finally, it explains when to see a mechanic for help.
Reset Light Not Turning Off
The most common problem is the light not turning off after reset. This can happen if the reset steps were missed or done incorrectly. Some Toyota models need the ignition on but engine off. Press and hold the trip meter button until the light blinks and goes off. For others, use the multi-information display menu. Check your owner’s manual for exact steps. If the light stays on, the sensor or system may have an issue.
Using Multi-information Display Correctly
Many newer Toyotas use a multi-information display (MID) for resets. Use the steering wheel buttons to access settings. Find the “Scheduled Maintenance” menu. Select it and choose “Reset” or “Yes” to clear the light. Do not start the engine during this process. It may take a few seconds for the reset to apply. Sometimes the display may freeze. Turning the ignition off and on again can help. Follow the exact steps for your model to avoid errors.
When To Visit A Mechanic
If the light stays on after several reset attempts, visit a mechanic. Persistent warning lights may signal real maintenance needs or sensor faults. Mechanics can run a diagnostic scan to find hidden problems. They check oil levels, filters, and other systems. Ignoring the light can cause engine damage over time. A professional ensures your vehicle stays safe and reliable. Do not delay if you notice unusual noises or performance issues.
Maintaining Your Toyota After Reset
Resetting the maintenance required light on your Toyota is just the first step. Keeping your vehicle in top shape after the reset ensures lasting performance and safety. Proper care helps your Toyota run smoothly and saves money on repairs. Follow these key tips for ongoing maintenance.
Regular Oil Changes
Changing your oil regularly protects the engine. Old oil loses its ability to lubricate and can cause damage. Use the right oil type recommended in your owner’s manual. Aim to change oil every 5,000 miles or as advised. Fresh oil keeps your engine clean and efficient.
Monitoring Maintenance Schedule
Check your Toyota’s maintenance schedule often. It lists important services like tire rotation, brake checks, and fluid changes. Stick to the timeline to avoid costly repairs. Use the multi-information display to track upcoming maintenance. Staying on schedule extends your car’s lifespan.
Using Toyota Service Tools
Toyota offers tools to help manage your vehicle’s care. The Toyota app can remind you of service dates and recalls. Some models have built-in alerts for oil life and tire pressure. Using these tools makes maintenance easier and keeps your car in good condition.
Credit: www.capitalone.com
Frequently Asked Questions
How Do I Clear My Toyota Maintenance Required Notification?
Turn ignition on without starting the engine. Use steering wheel buttons to access settings on the MID. Select “Scheduled Maintenance” and confirm “Yes” to reset. Older models hold the trip odometer button with the key on until the light resets.
How To Reset The Maintenance Required Light On A Toyota Camry?
Turn the ignition to “On” without starting the engine. Press and hold the Odometer/Trip button until the display resets. Release the button and start the engine to confirm the maintenance light is off. Steps may vary by model year.
How To Reset The Maint Required?
Turn the ignition on without starting the engine. Use steering wheel buttons to access settings on the display. Select “Scheduled Maintenance” and confirm reset. For older models, hold the trip odometer button until the light resets. Start the engine to verify the light is off.
How To Reset Maintenance Light On Toyota 2018?
Turn ignition to “On” without starting. Use steering wheel buttons to select “Settings” on the display. Choose “Scheduled Maintenance” and confirm reset. Older models hold the trip button until the light resets.
How Do I Reset The Maintenance Required Light On Toyota?
Turn the ignition on without starting the engine, navigate to the settings on the display, and select reset.
Conclusion
Resetting the maintenance required light on your Toyota is simple. Follow the steps carefully for your model. This keeps your car’s reminders accurate and timely. Regular resets help track your vehicle’s maintenance needs. Drive safely knowing your Toyota alerts are up-to-date.
Keeping these steps in mind saves time and stress. Now, you can reset the light with confidence. Maintenance reminders help your car run smoothly longer. Stay attentive to your Toyota’s signals for best care.